Building a Wheel

Since I chose to buy the hub motor by itself with no rim, spokes or tyre, I had to get these parts and build the rest of the wheel myself. I’m glad I built it myself because I now understand how to build a wheel from scratch and I used up some old wheels that were taking up space.
1. Scavenging for parts ⚙️
I have two old rear wheels that I can scrap for parts that are currently sitting in my room.
- The first is the wheel from the electric bike that I destroyed most recently when the motor entangled itself in the spokes. 2) The second is a wheel that I bent and decided to replace instead of truing because I didn’t have the tools.
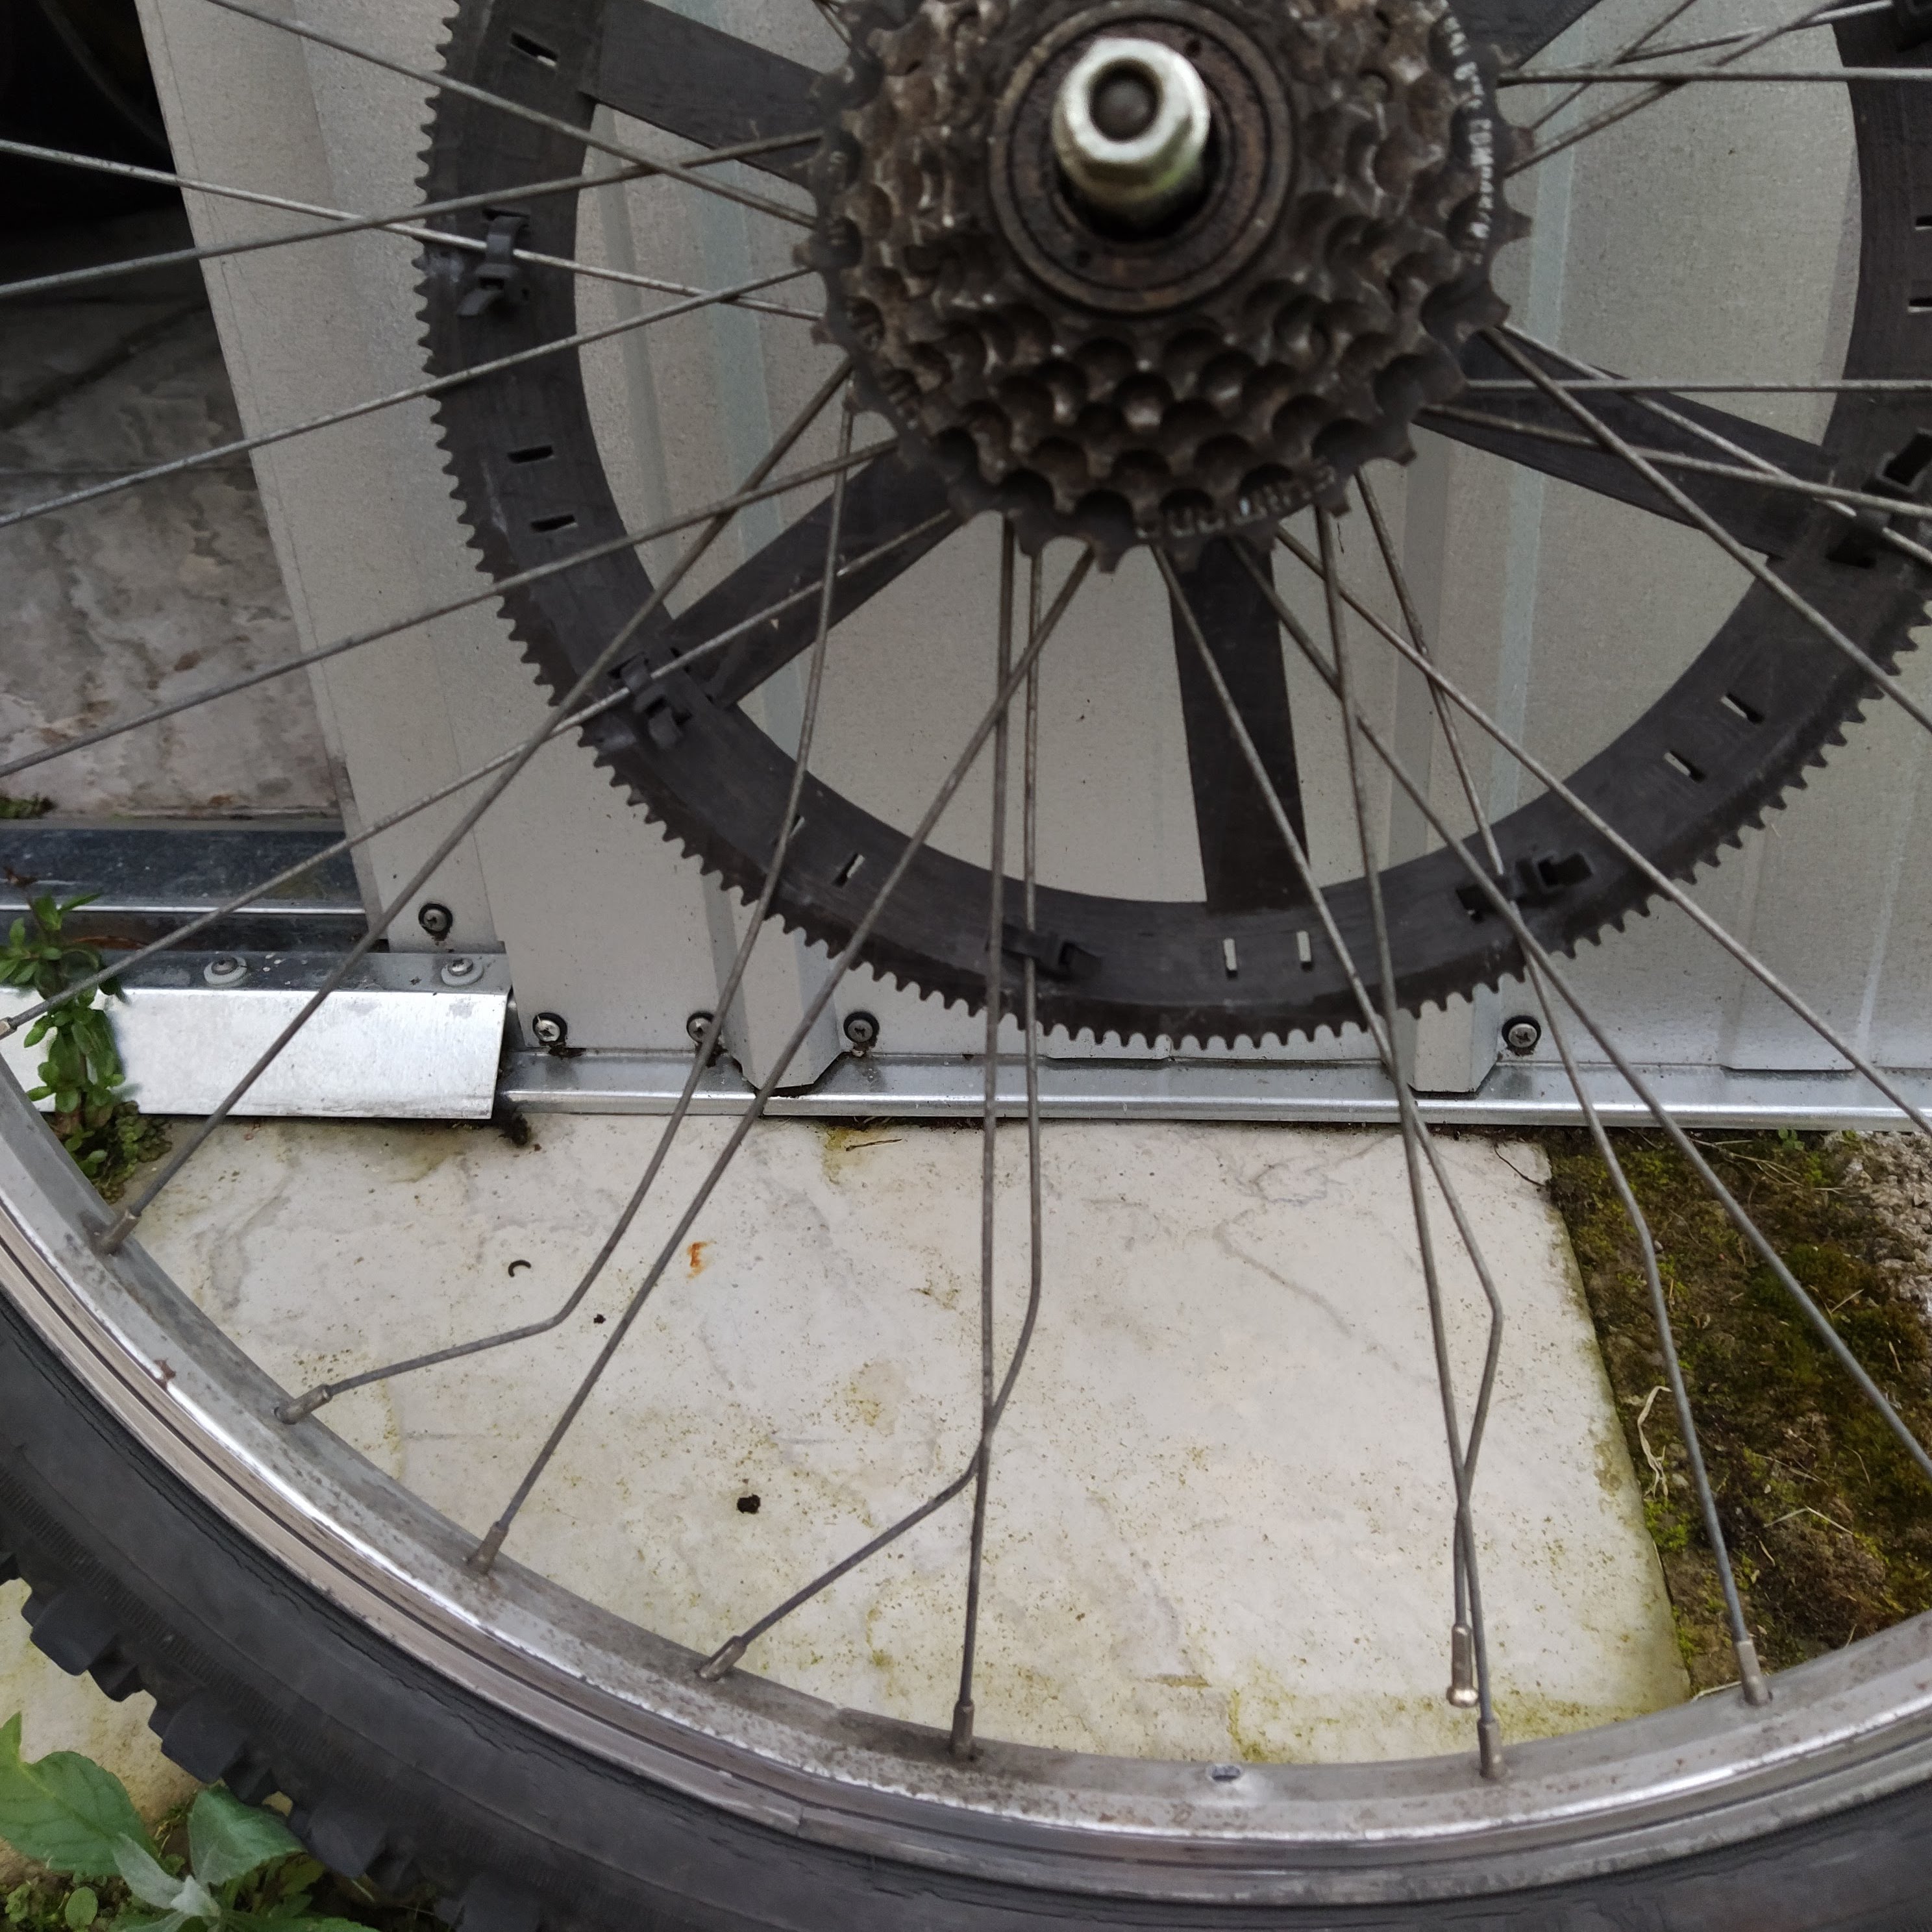
From these two wheels I could scavenge the tyre, tube and some spokes from the first wheel and spokes and rim from the second wheel.
2. Lacing the wheel 🛠️
Now that I had all of the basic parts to build the wheel, I had to assemble it. This meant cutting spokes to the correct length and then lacing them into the rim and hub.
Cutting spokes
I was in a bit of a predicament with regards to spokes because the spokes I had were for a much smaller hub. This means that the spokes I started with were too long. As an Eastern European man on a video on YouTube once said, “There is no such thing as too long spoke. Any person that says this is idiot.”
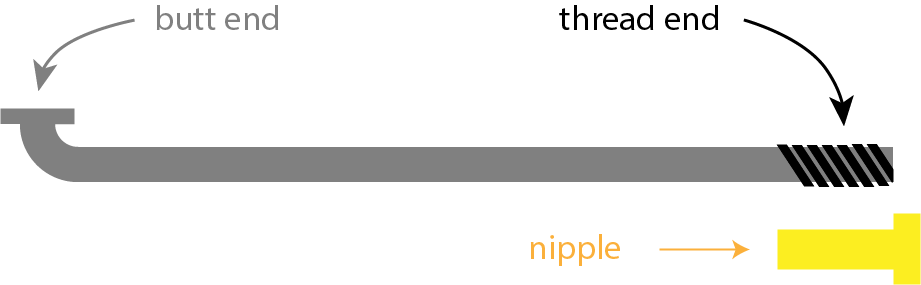
A spoke has a butt end that is captured in the hub and a thread end that threads into the nipple through the rim. I could shorten the spoke from the thread end or the butt end.
Spoke threads
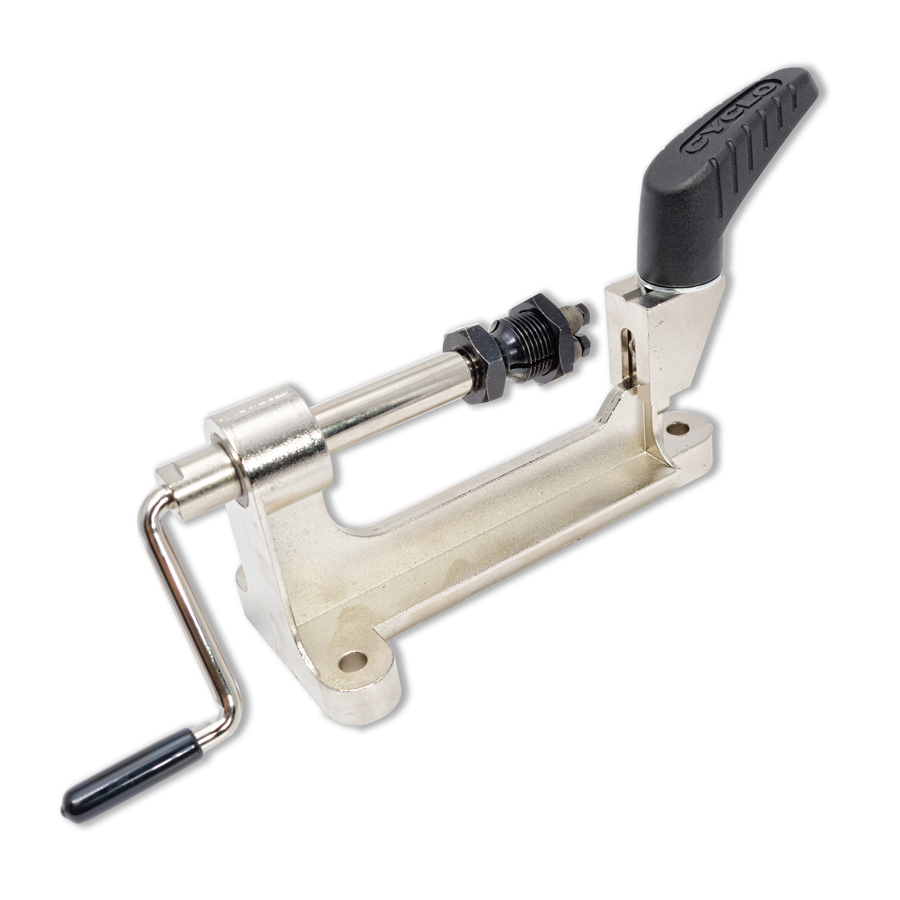
If I shortened the spoke from the thread end, I would have to cut new thread. Or should I say roll new threads? Spoke threads are rolled, not cut. Rolling deforms the material without removing it, which makes a stronger thread and the thread can also be larger than the diameter of the spoke. So I would need a spoke roller. A quick google has some spoke rolling machines from €20 to €100! Yikes! I’ll probably only use it once, so I’ll need a different way.
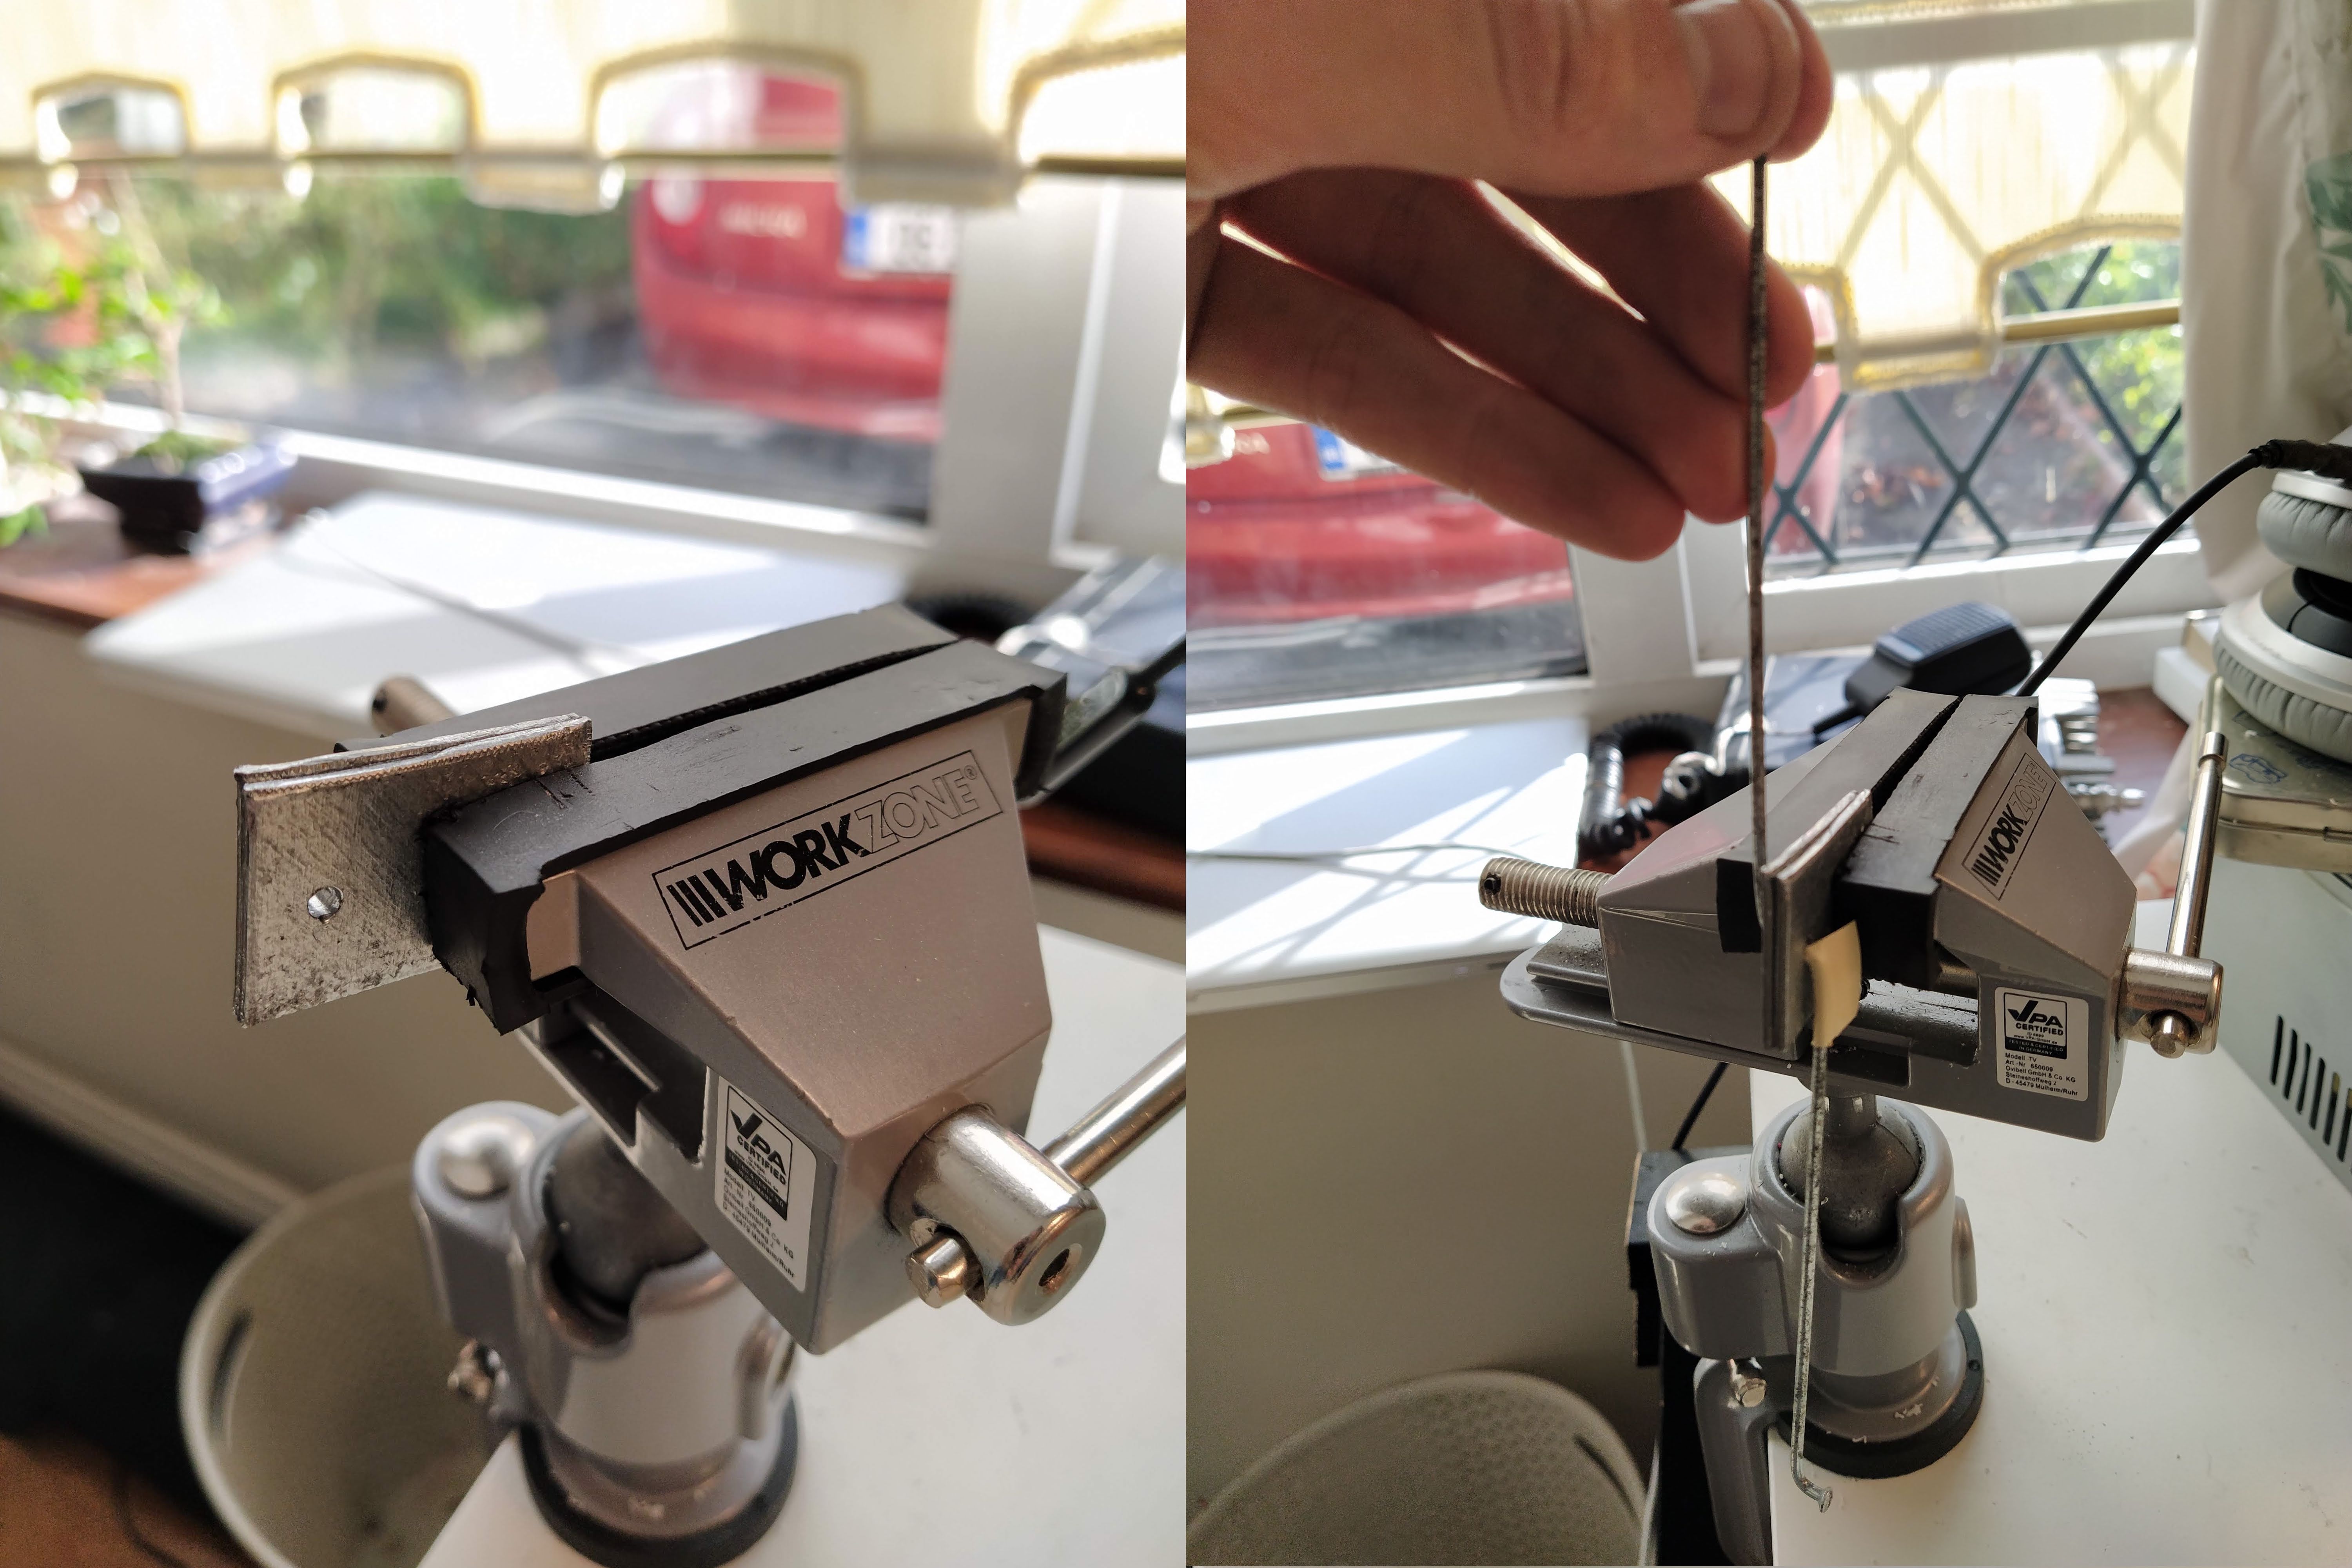
Butt end it is
So I had to cut from the butt end. Once I knew the length of the spoke I would get to shortening. I got a piece of metal that was the width of the flange of the hub, drilled a hole the size of the spoke hole and then bent the spokes inside this hole. This creates a new butt end which keeps the spoke captured in the hub hole. Bon appetite. I was inspired by this guy: https://www.youtube.com/watch?v=EYpGvp_7LoU
Lacing pattern
In order to calculate the correct spoke length, I had to calculate the Effective Rim Diameter (ERD) and some other measurements from the hub and rim. The ERD is measured using two spokes and a calipers. The spokes are screwed into the rim and the distance between them is measured. The spoke length is known and is used to calculate ERD. Everything else was measured with a calipers.
Now that we have all the measurements, a spoke calculator can be used. I didn’t want to cut my spokes with the incorrect length, so I calculated the length myself and with two seperate spoke calculators. I used https://www.ebikes.ca/tools/spoke-calc.html and https://www.prowheelbuilder.com/spokelengthcalculator.
The end spoke length was 162mm which I rounded up to 165mm. So I cut the spokes, bent them and then laced them into the wheel.
3. Balancing / truing the wheel ⚖️
I initially balanced the hub motor because it was not balanced. That wasn’t a bad idea, but it was useless because it went out of balance once I added the rest of the wheel 🤦🏻 What is important is to get the wheel true by tightening the nipples around the wheel so that it pulls the rim to the centre. I used the brakes as a guide of where the centre was.
The rim is out of balance if it vibrates when brought up to speed. It isn’t necessary to balance a wheel, but I wanted to so that it wouldn’t shake the bike when the throttle was applied in mid air. Balancing can be done by adding weight to different parts of the wheel and checking where the weight adds to the vibration and dampens it.
And that is how a hub motor wheel is built. It still isn’t perfectly true, but it’s close enough 😆 And the wheel itself was free because I had some wheels lying about. The only cost was the hub motor. I would definitely recommend repurposing old wheels if you can!