Building a new Compartment

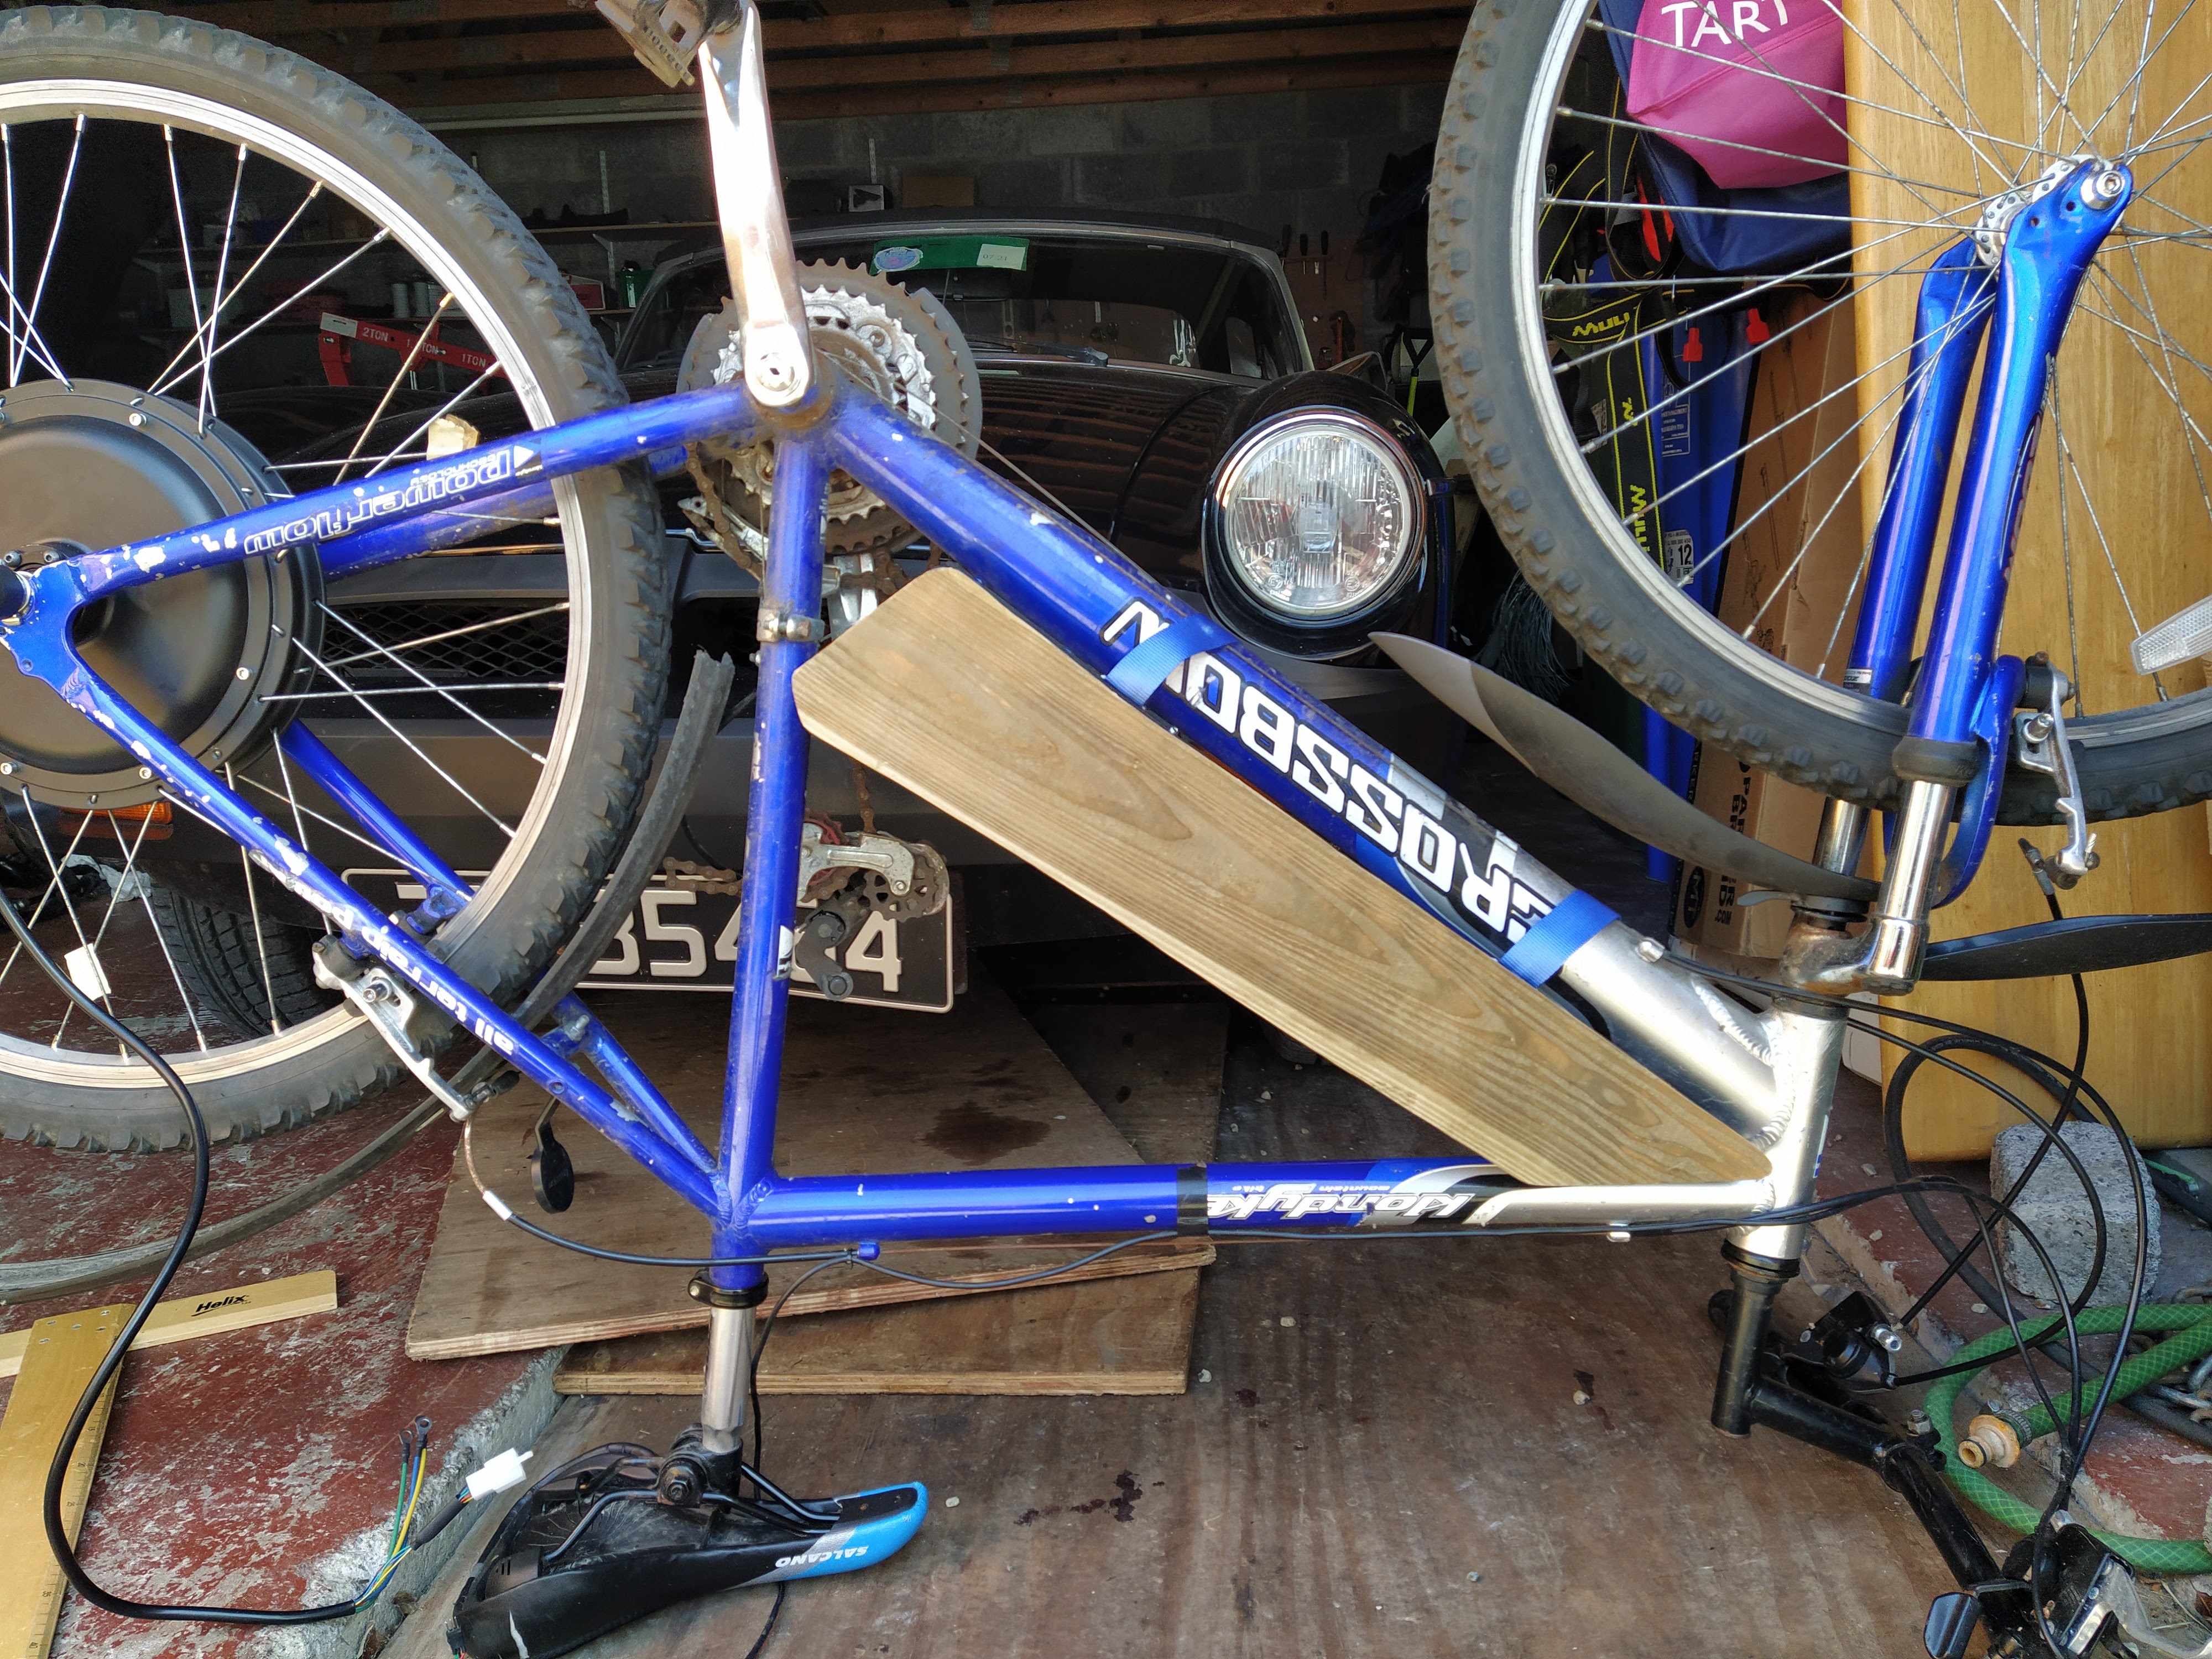
The battery and controller need a compartment to protect them from wind and rain and to keep them secure. The old compartment had a middle section made of black PVC gutter that was heated and formed. Each side panel was made from thin polypropylene sheets wrapped in matte black car wrap and PVC brackets rivetted together.
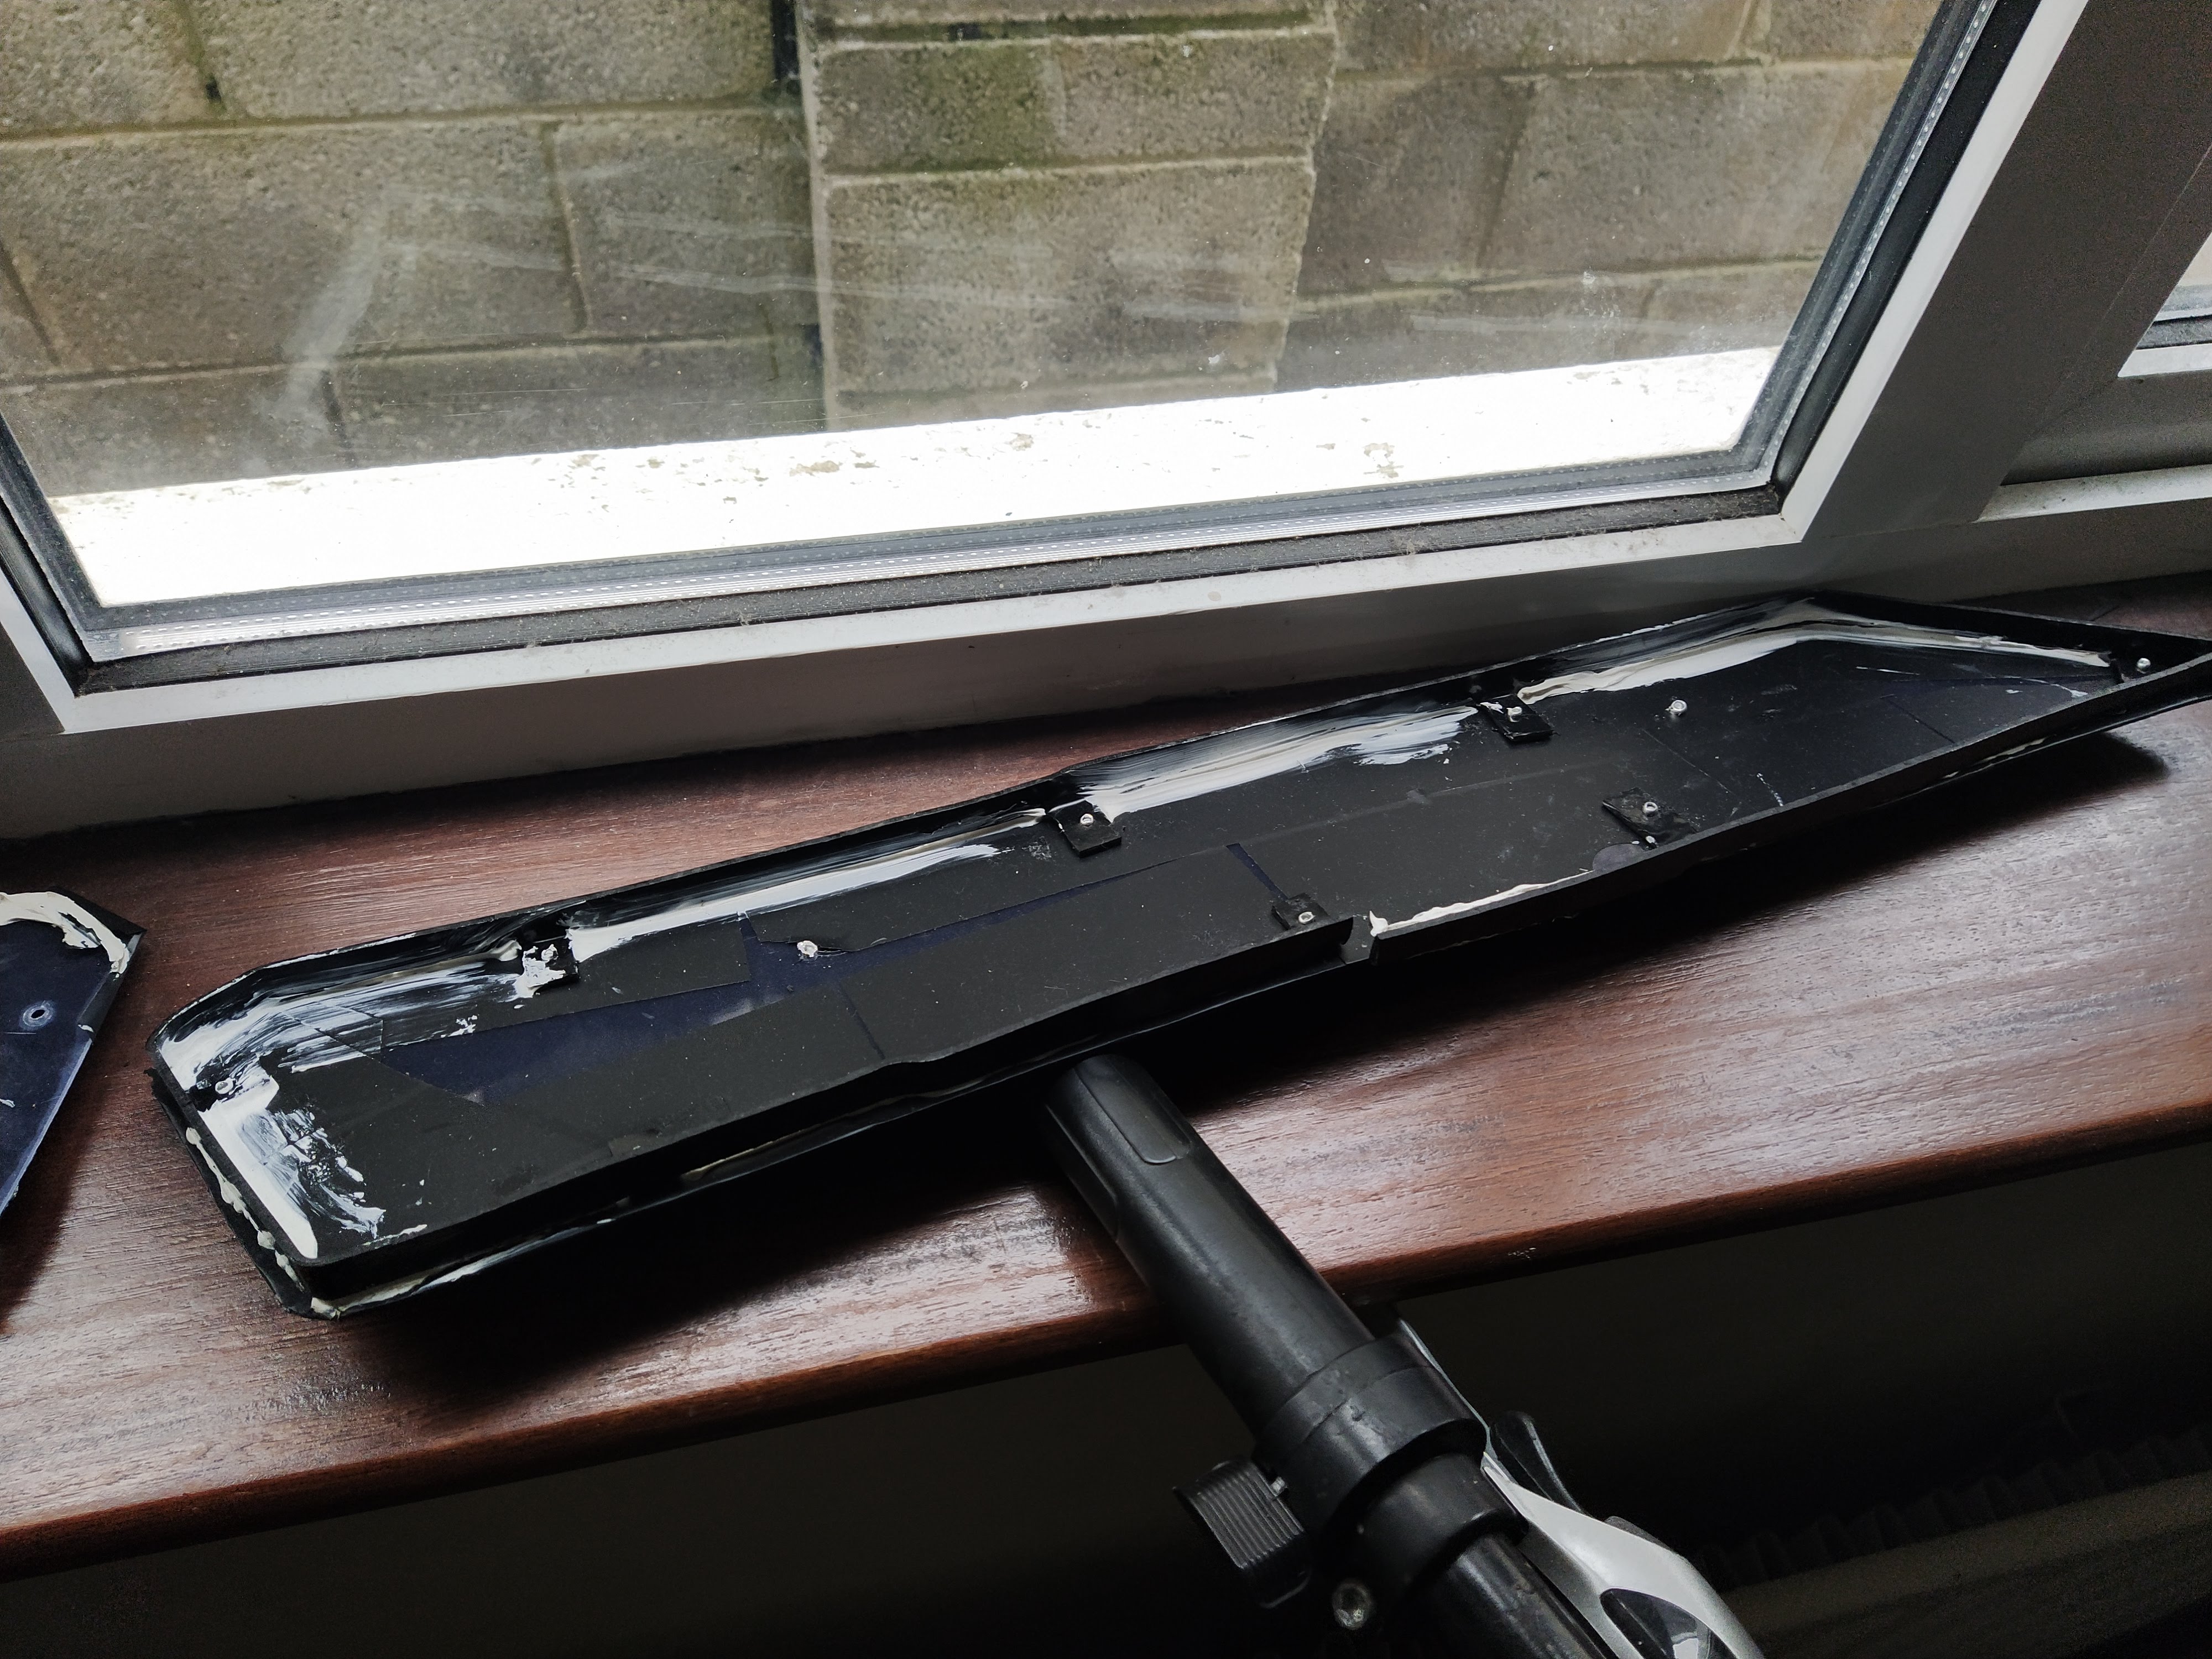
The seal on the old compartment was OK once I had sealed it with white caulk. However, the seal was far from perfect, it looked tacky and it was very flimsy 😬 With that, a new compartment is needed.
1. Design 📝
There were a few aspects of the old design that I liked. The black PVC gutter in the middle was sturdy and worked very well. The strap mechanism for the battery made the battery easily accessible and secure. These straps might have to be revisited at some other time, but they’re fine for now. The main eye sore and annoyance were the side panels.
Wooden side panels are the way to go. They will be made of one solid piece of wood and then routed out to reduce weight. there will be a lip to keep the side panels in position. Otherwise, they’ll follow the shape of the middle piece.
2. Build 🏗️
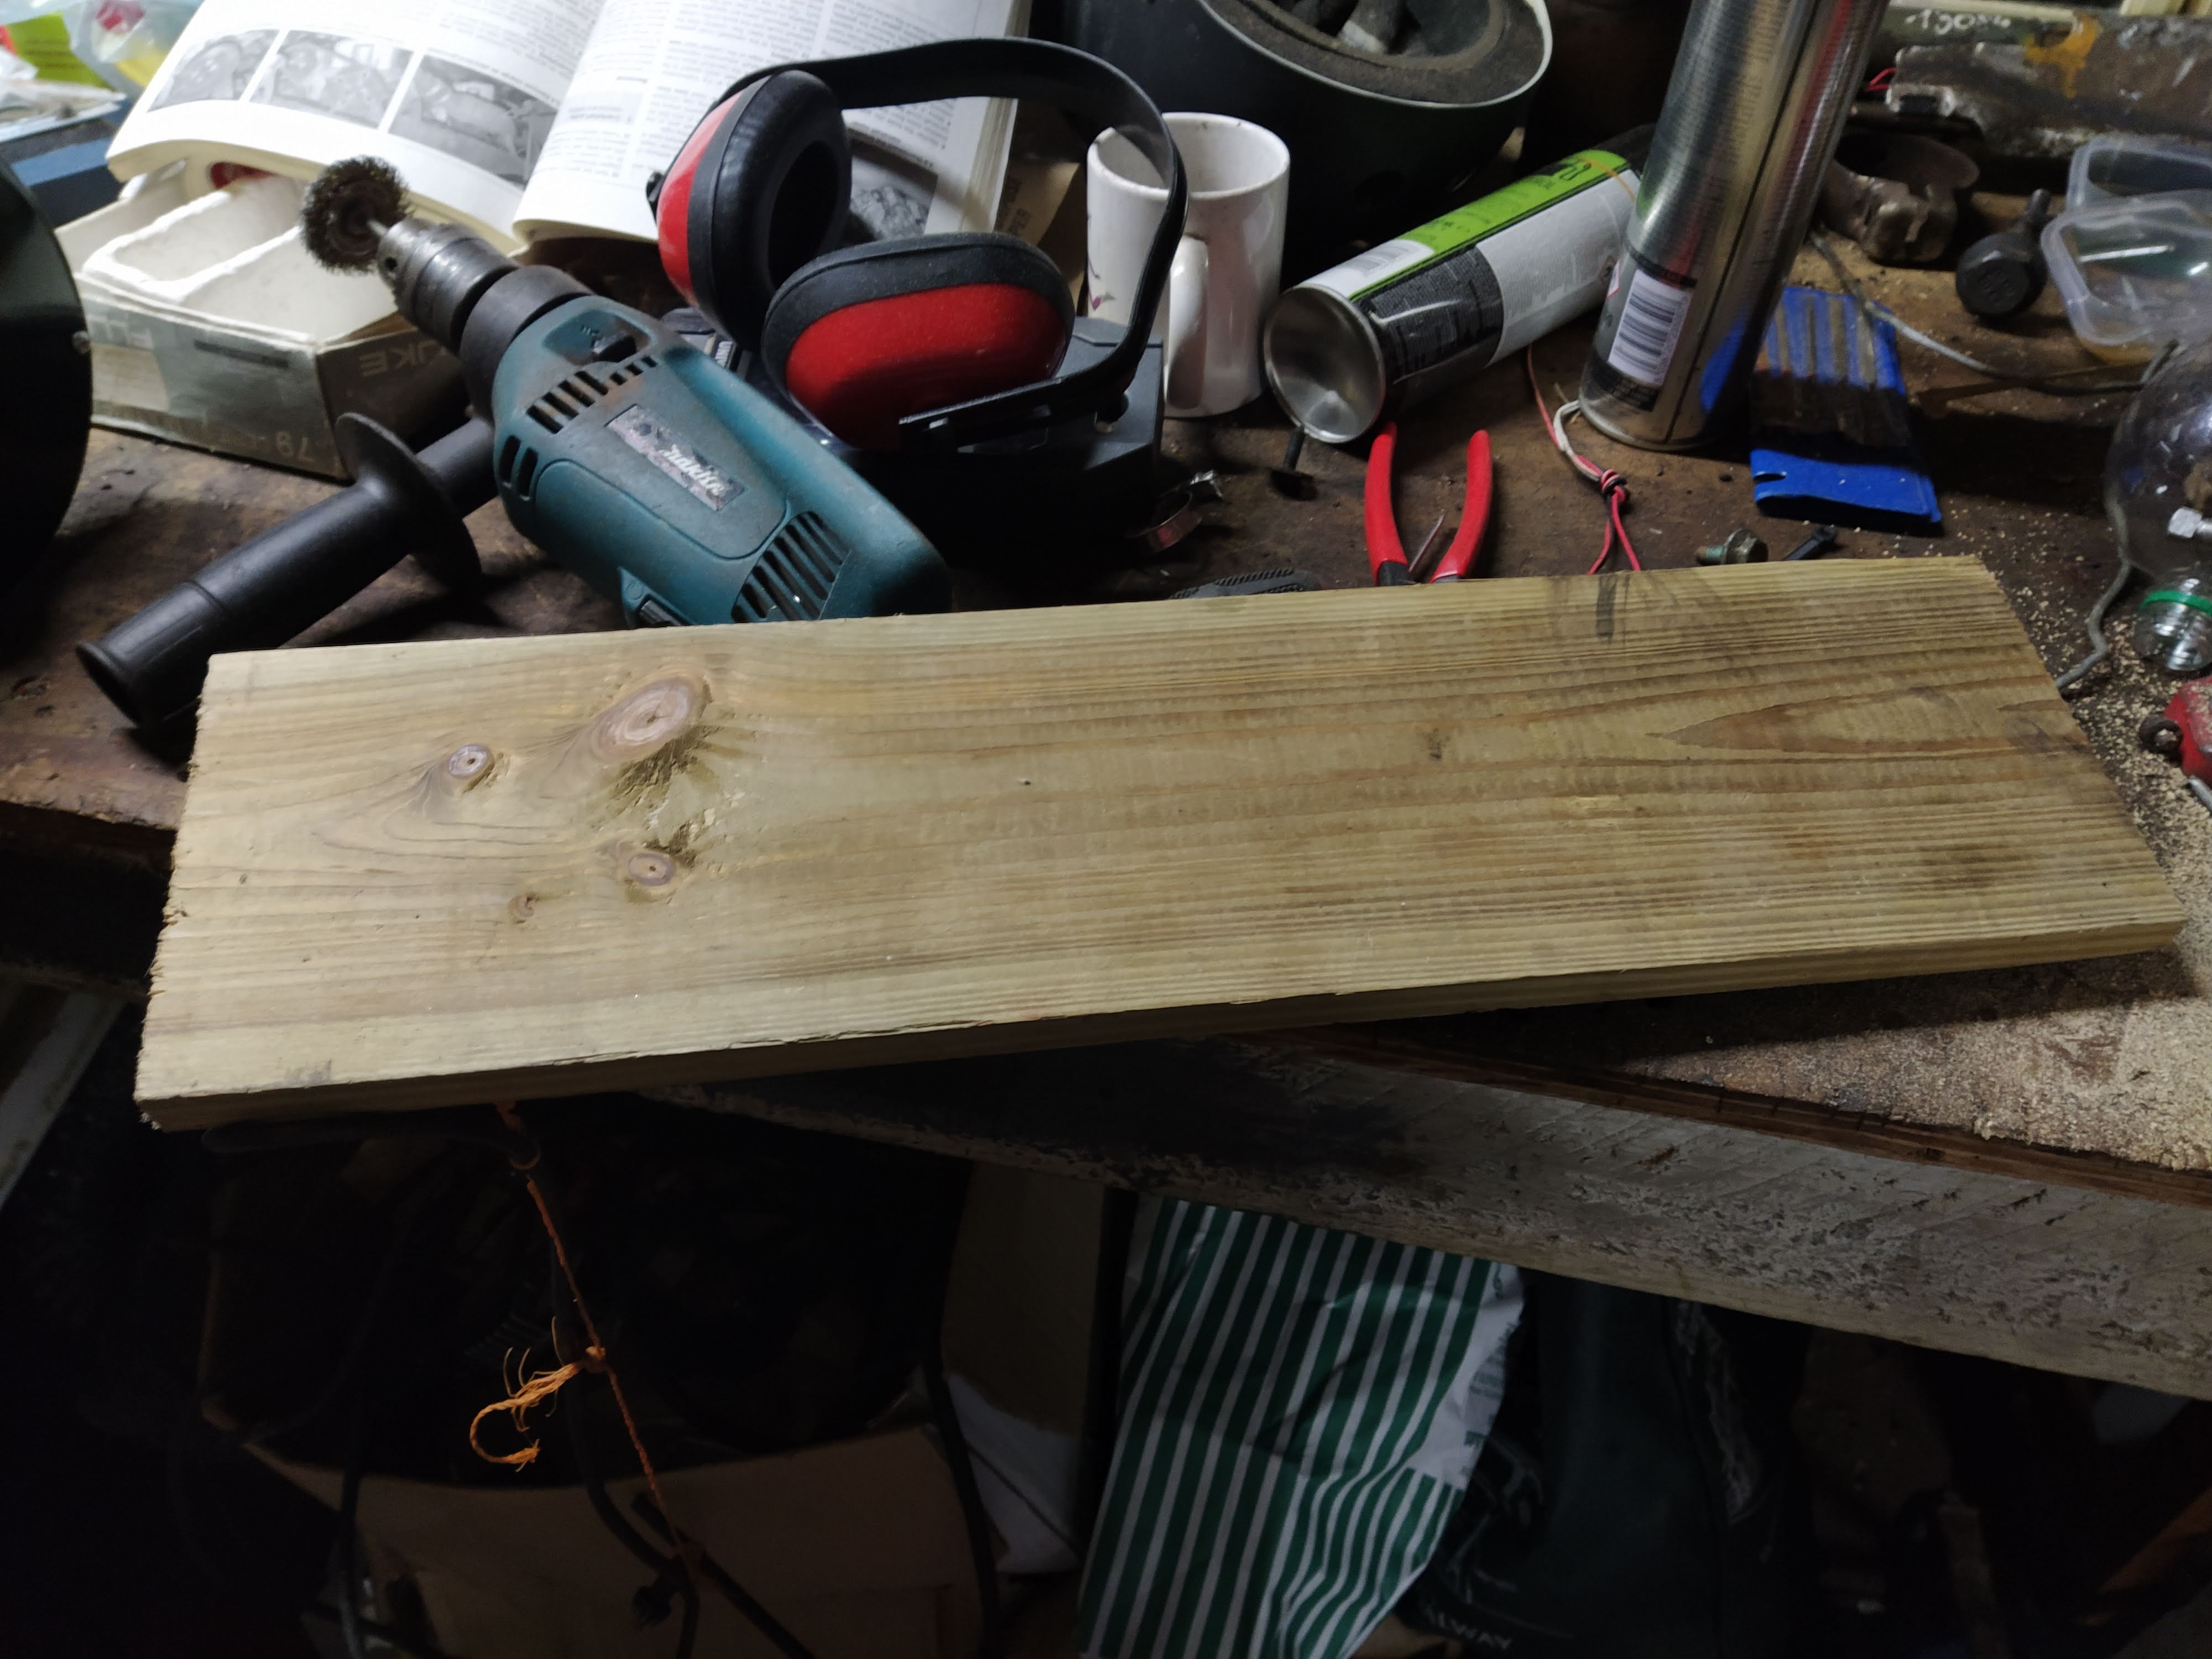
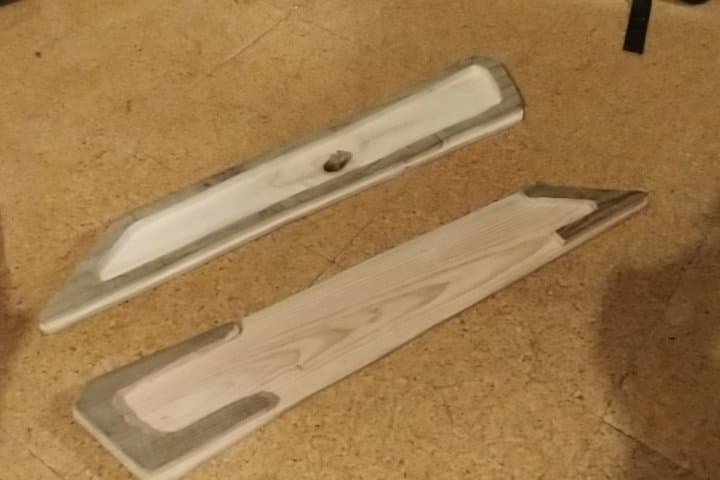
The first step was to take a piece of would and cut out the lip that would fit inside the compartment using a router.

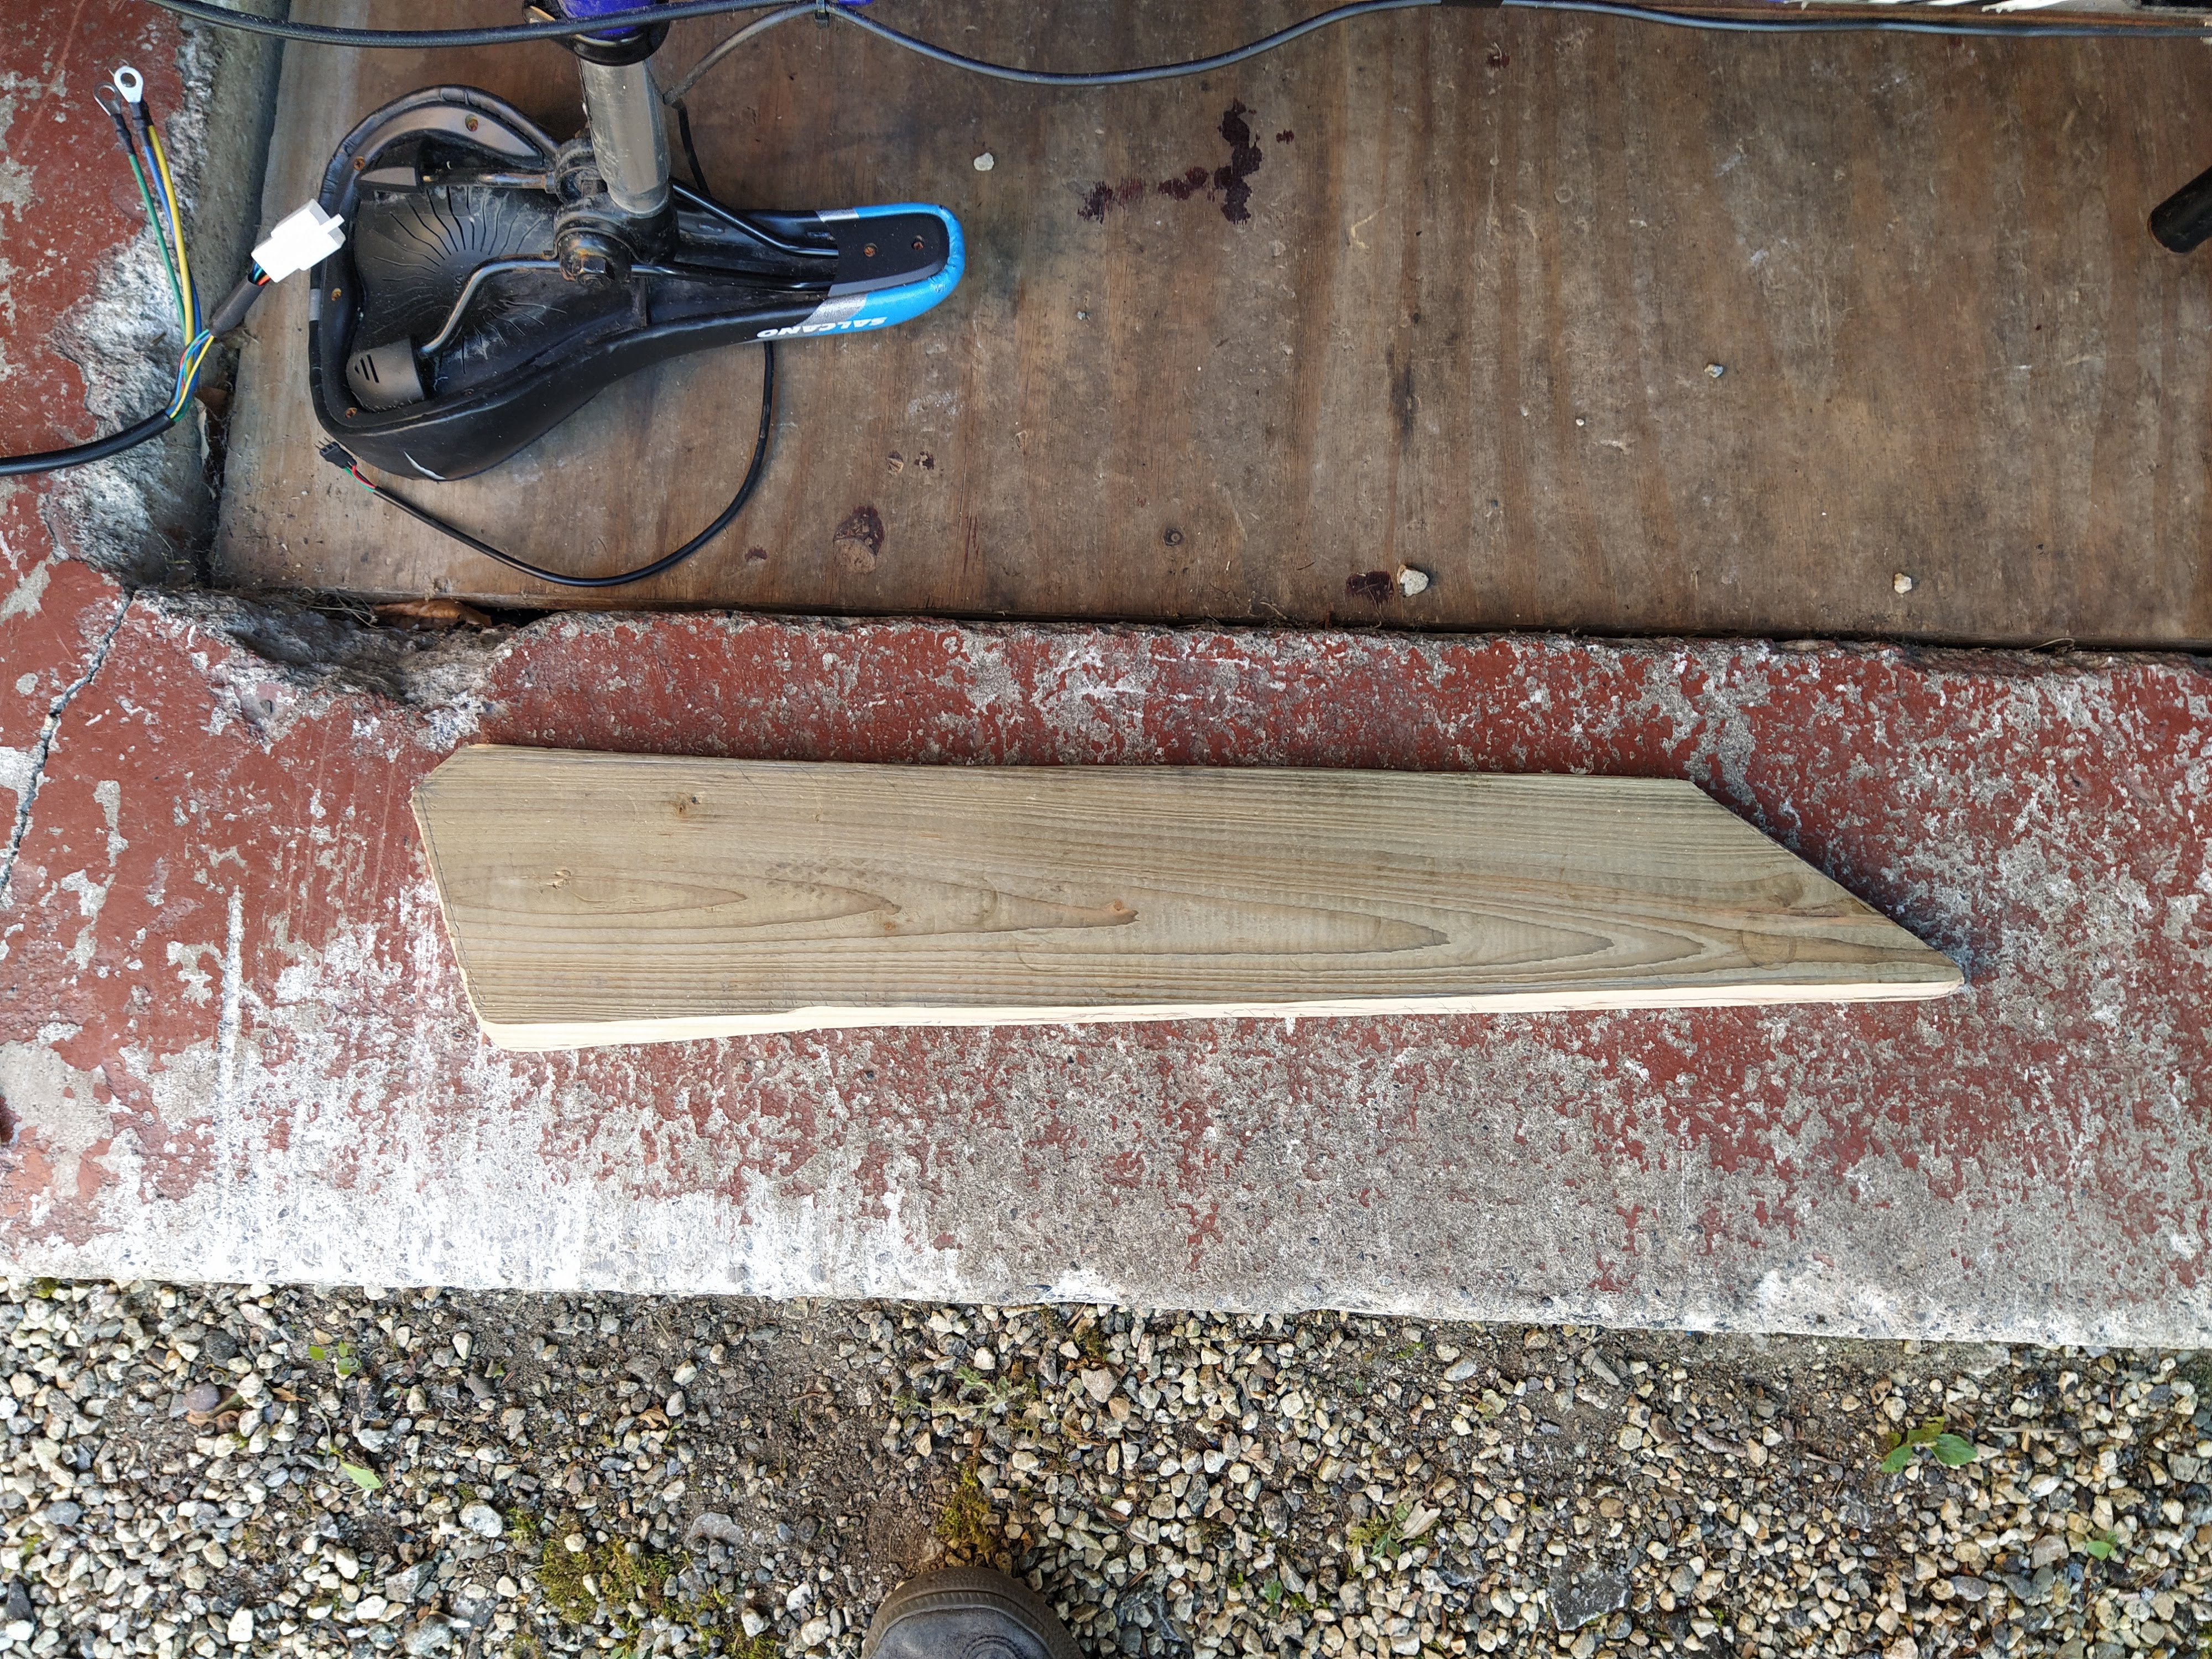
Now the lip can be trimmed and test fit into the compartment.
The inside is then hollowed out to save on weight and create enough space for the battery.
3. Install 🔩
Now the panels are made and they are ready to be installed into the bike. A little bit of dark varnish is applied to each panel for aesthetics and then they are fitted to the compartment frame. The panel on the right side of the bike is fixed in place using short self-tapping screws. These screws are pre-drilled and then screwed into the lip to keep the form of the centre piece and to maintain a sturdy panel.
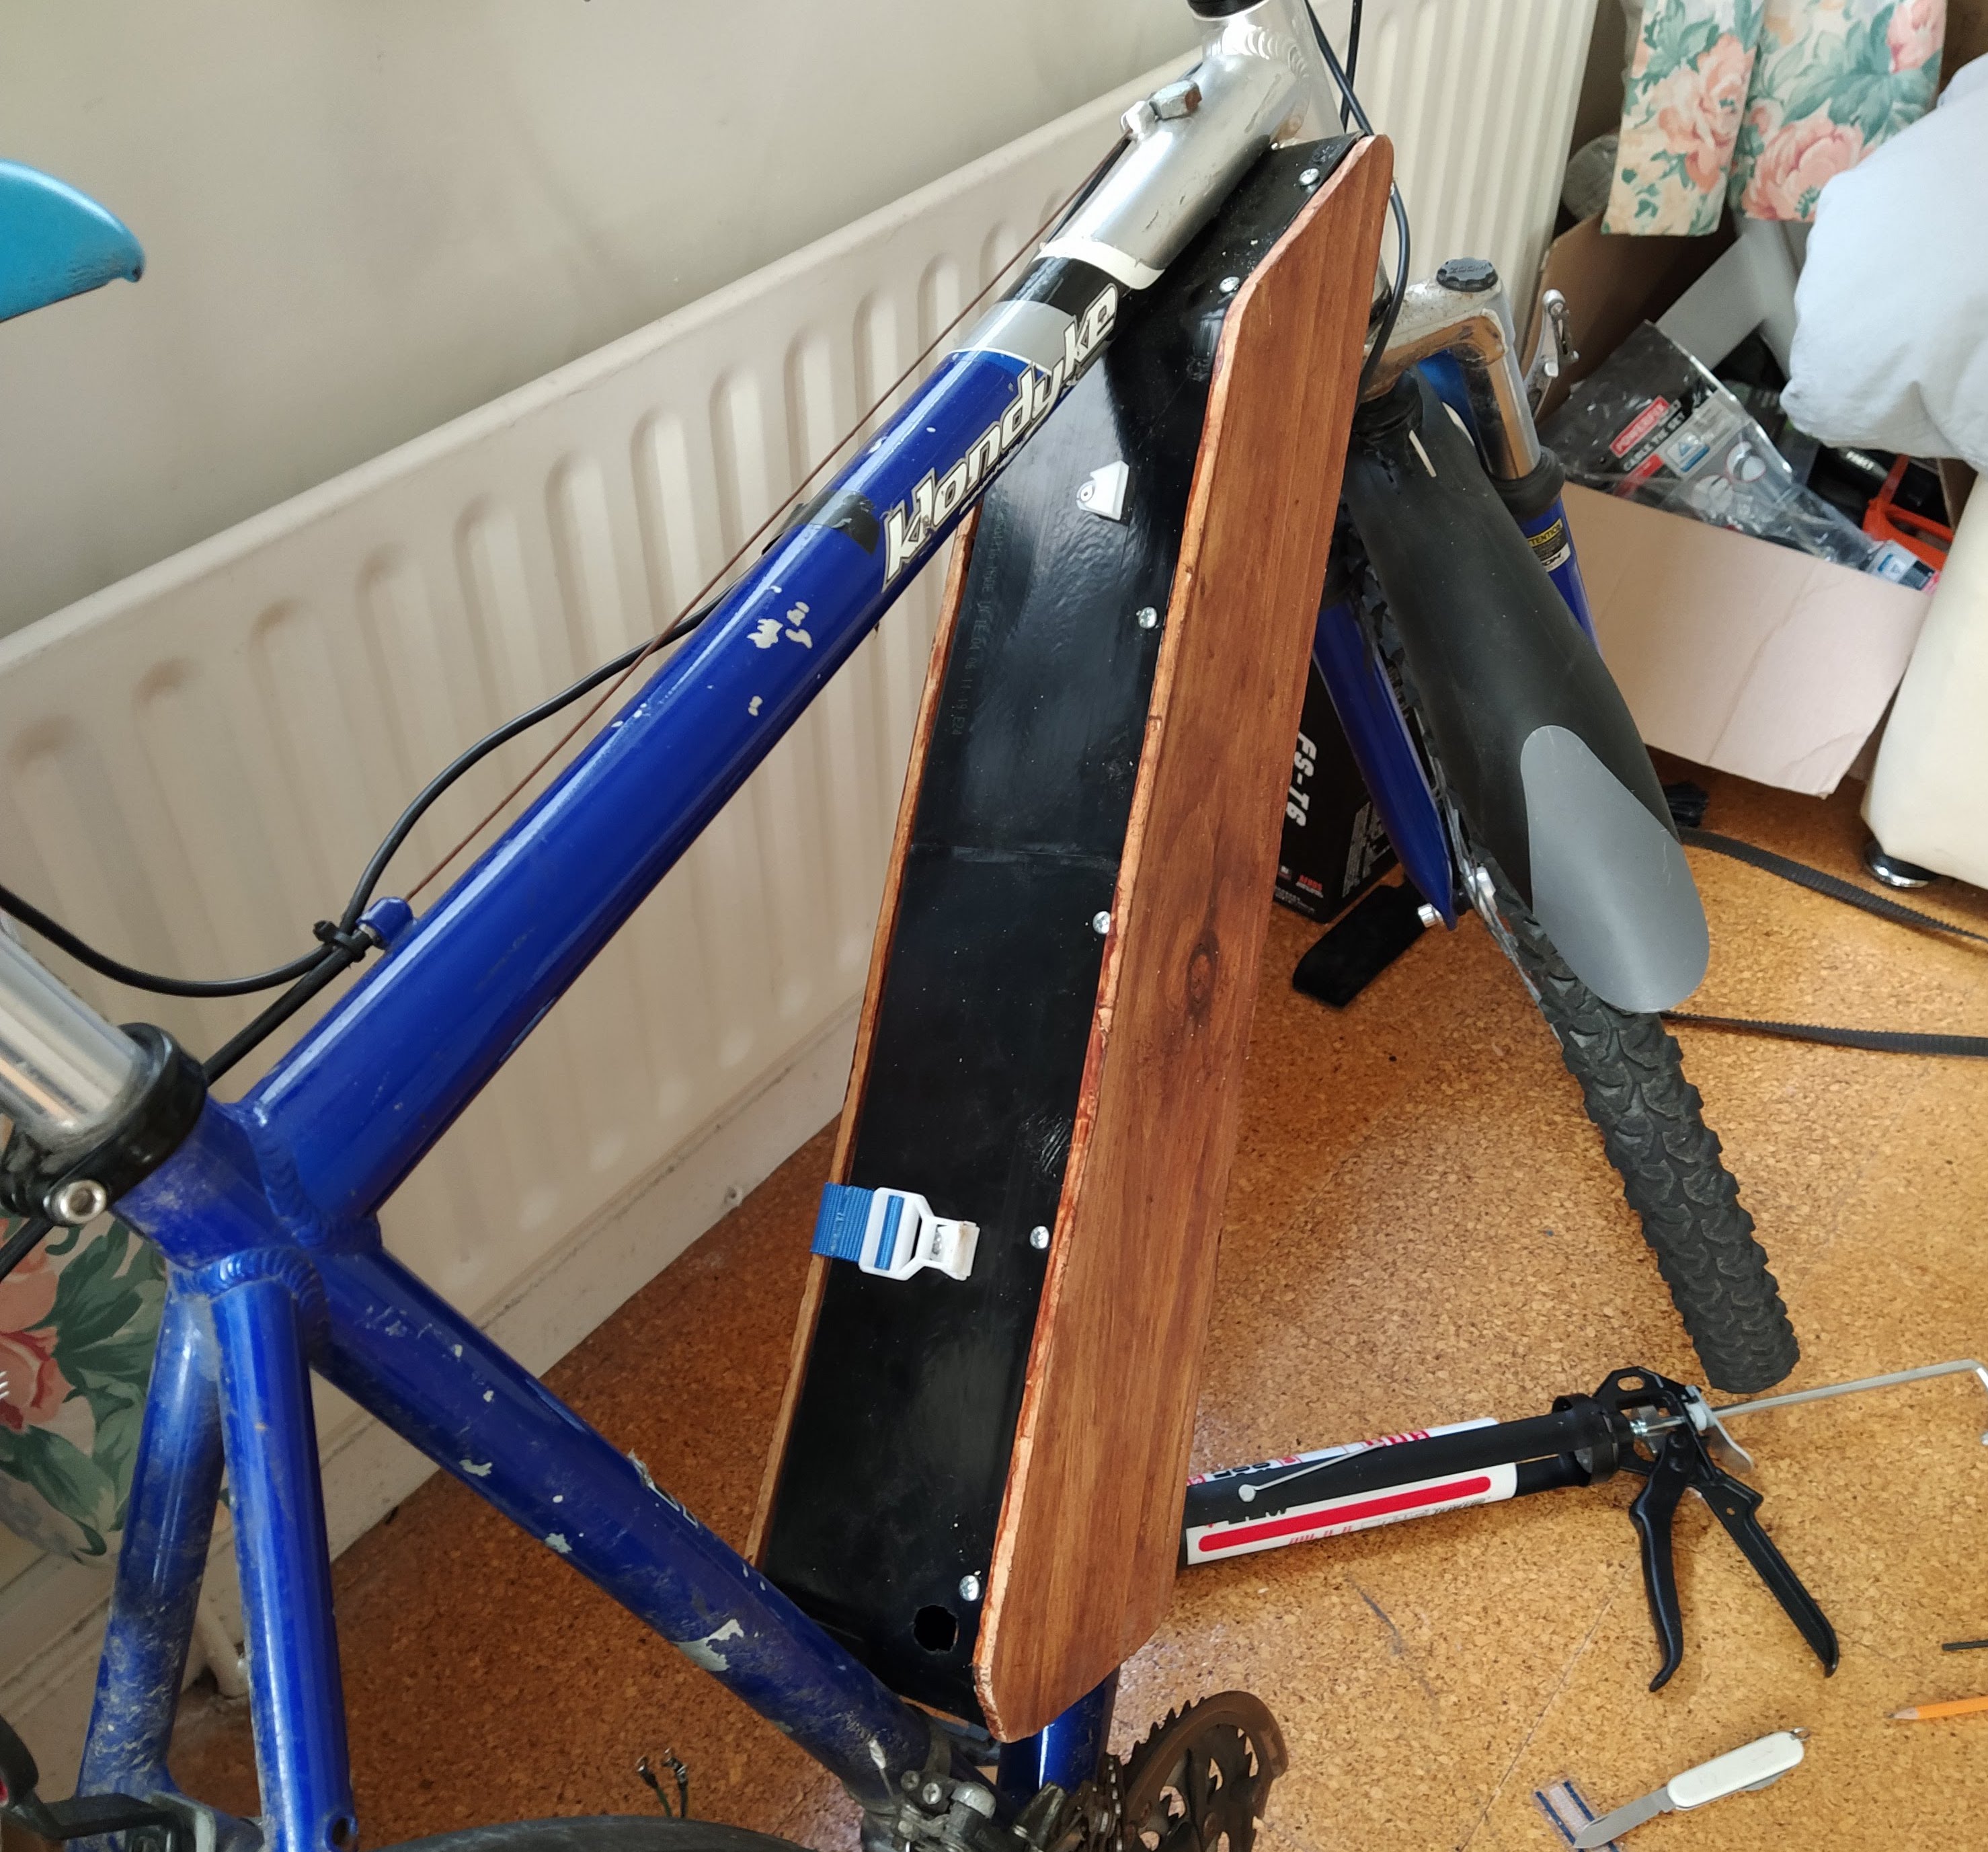
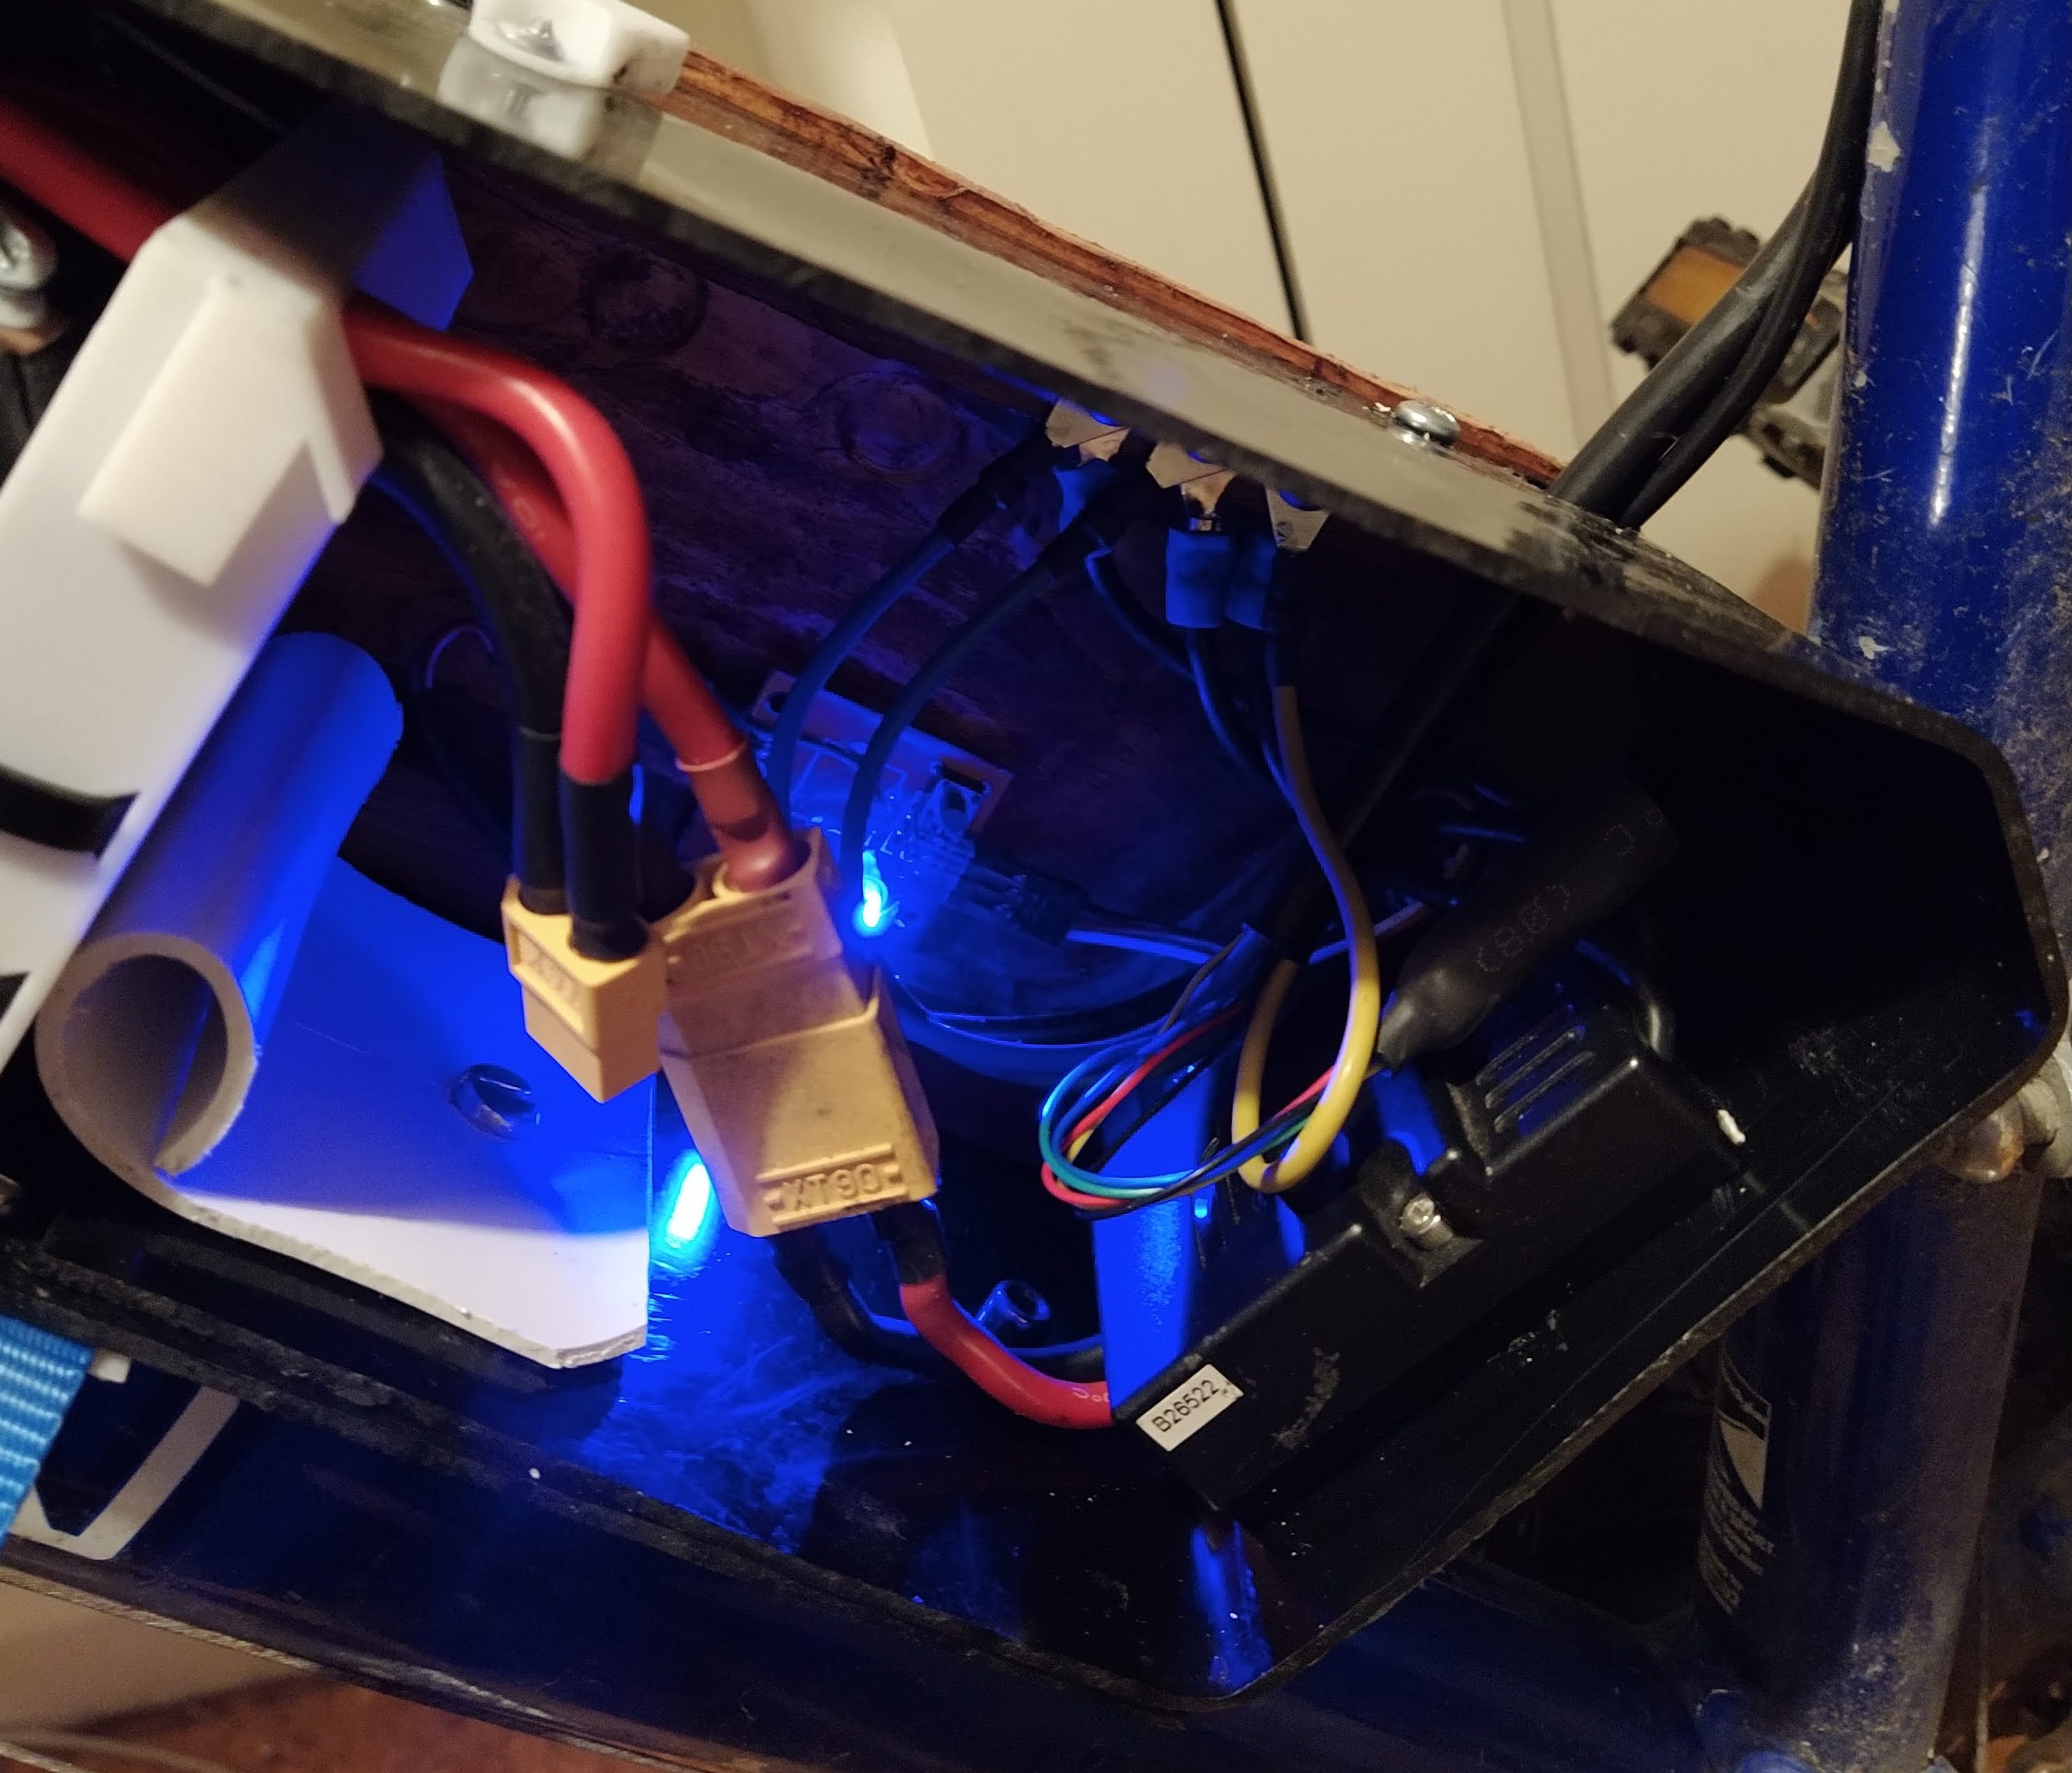
The electronics are also fitted inside behind the battery. This part of the project was not very complicated, just time consuming. I am very happy with the end result however 👌