Audi TT NCT Jobs

A couple of jobs to get the car to pass the NCT:
1. Put the catalytic converter back in the car
Unfortunately the car didn’t pass emissions testing without the catalytic converter. The reason I fitted the decat downpipe was because the old one rusted away and the catalytic converter would require some fabrication work to fit a new one to.
It turned out I had to do that anyway.
Catalytic Converter Prep

The studs on the cat were completely rusted. To remove them I grinded the ends off and hammered them through with a sledge hammer while standing on it. Some of the more stubborn studs had to be drilled out. I then replaced them with standard M8 bolts cut to size. I spot welded them into place.
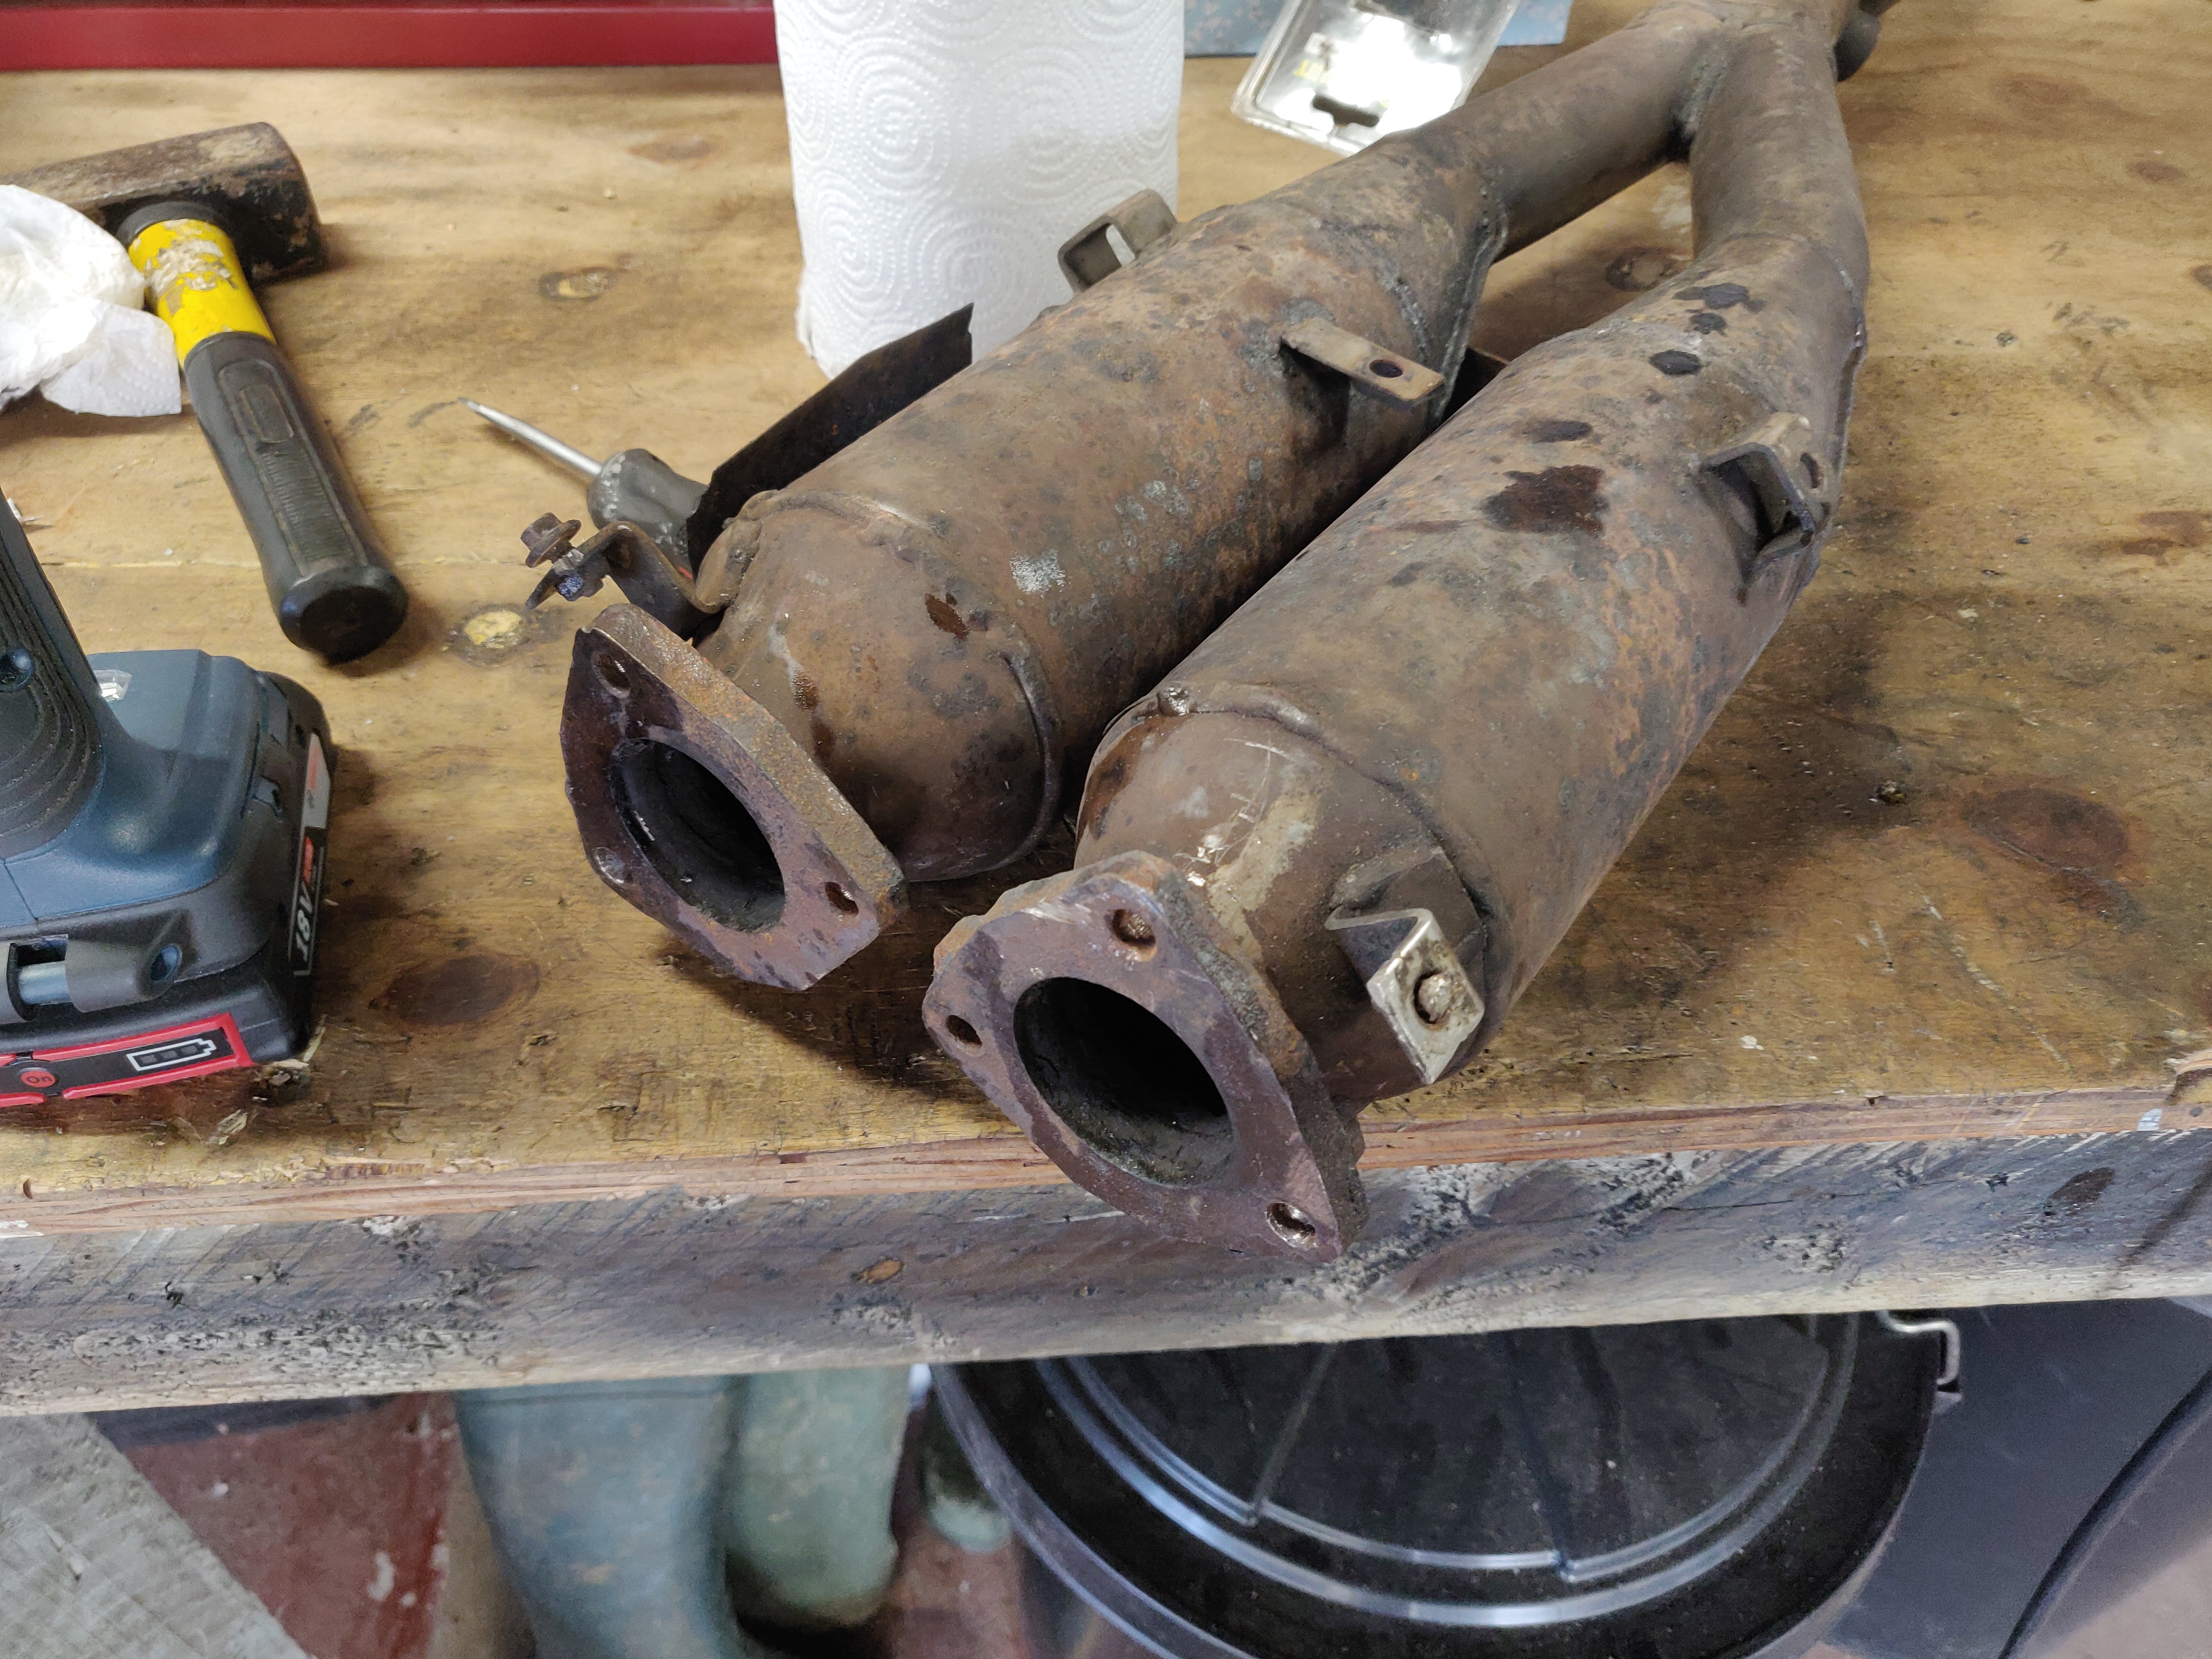
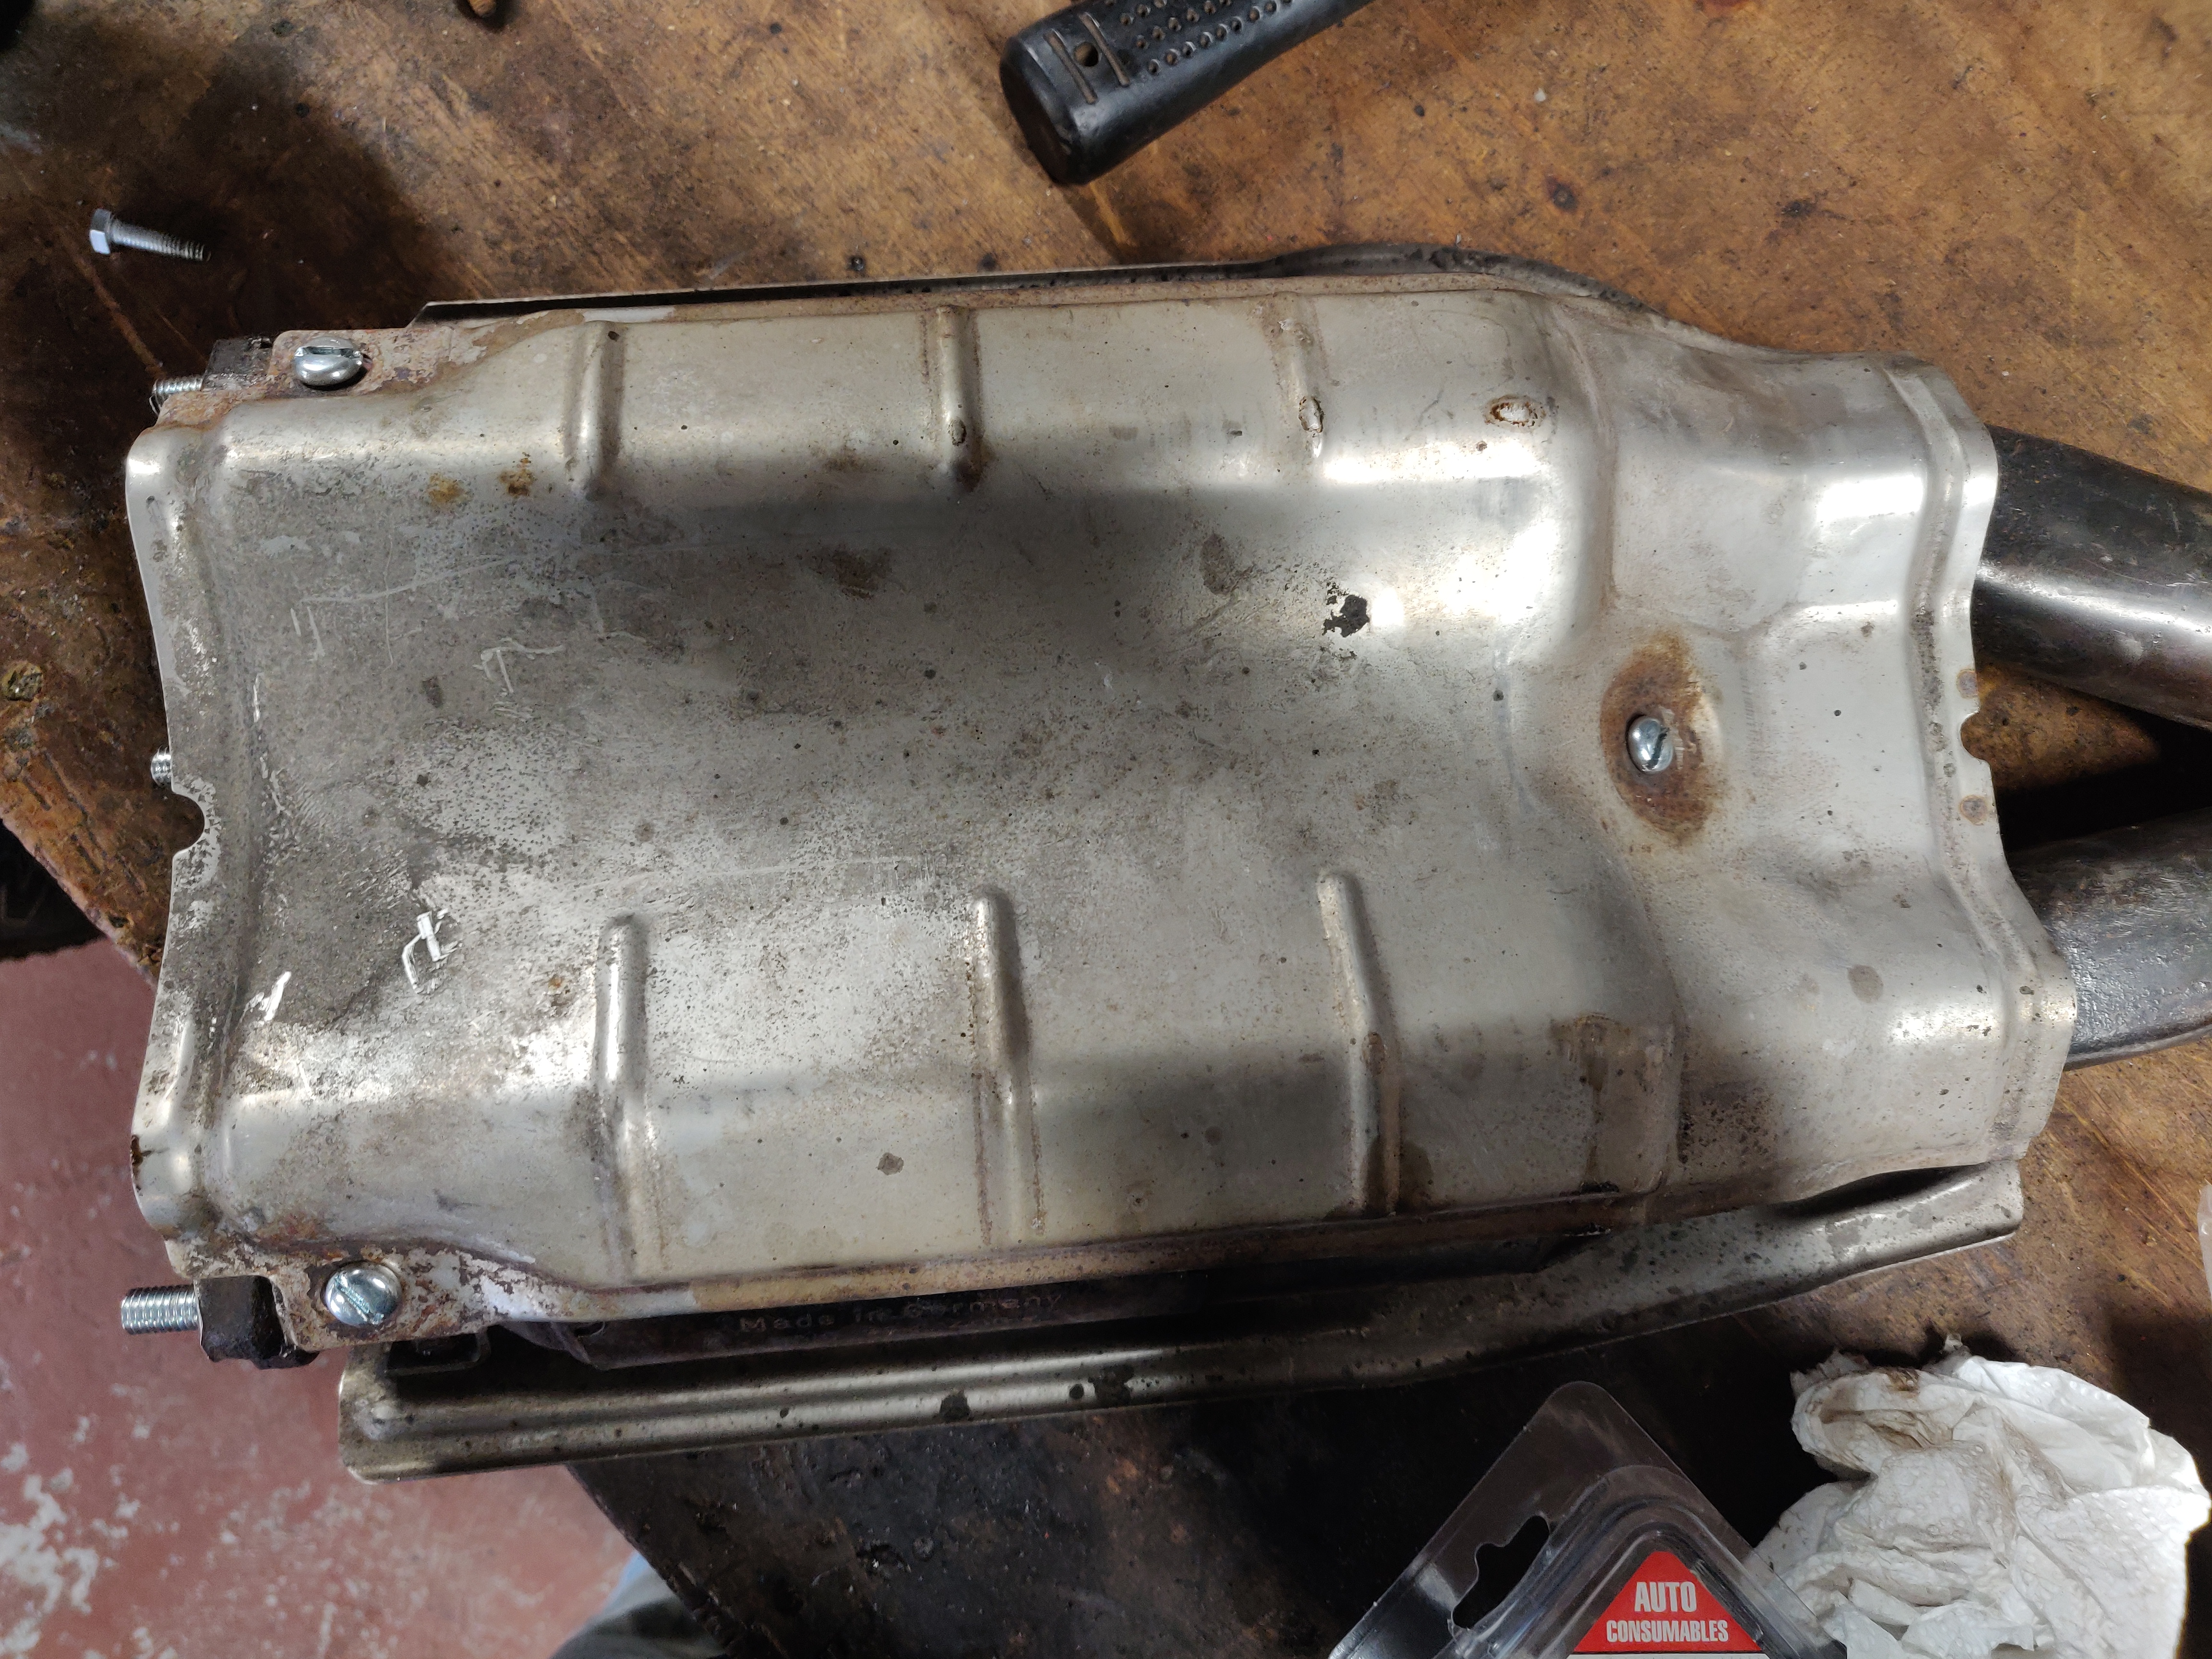
I then placed the cat top and bottom heat shields back on with new self-tapping slips and M6 flat-head bolts. They were all I had at the time but also really do look the part. The cat was now ready for the new downpipe.
The downpipe
The new downpipe from BM catalyts has been installed. It’s not completely identical to the OE downpipe but it’s cheaper than an OE one from Audi and I didn’t want to replace it with a used downpipe as the flex-pipe is prone to breaking.
The BM catalyts downpipe is actually a bit smaller in diameter than the OE pipe which is great for clearance but at the cost of a small bit of performance. I’d say you’re only losing a few HP at the most so it’s worth it.
I haven’t seen much in the Audi TT forums about this downpipe but I would definitely recommend it if you’re not interested in doing a 3 inch downpipe upgrade.
The problem with upgrading the downpipe is that there really isn’t enough space for it and you have to fit a solid dogbone bushing to stop rubbing. This compromises the ride quality and is really not how the car was designed to be.
Fitting the downpipe
Introducing…the inspection pit. I’m fortunate enough that my garage has a basement with an opening that is the perfect length and width to act as a pit. For this job we drove the car over it and put it on axle stands. The days of crawling on the floor to do jobs is over and I can tell you it made this job 10 times easier.
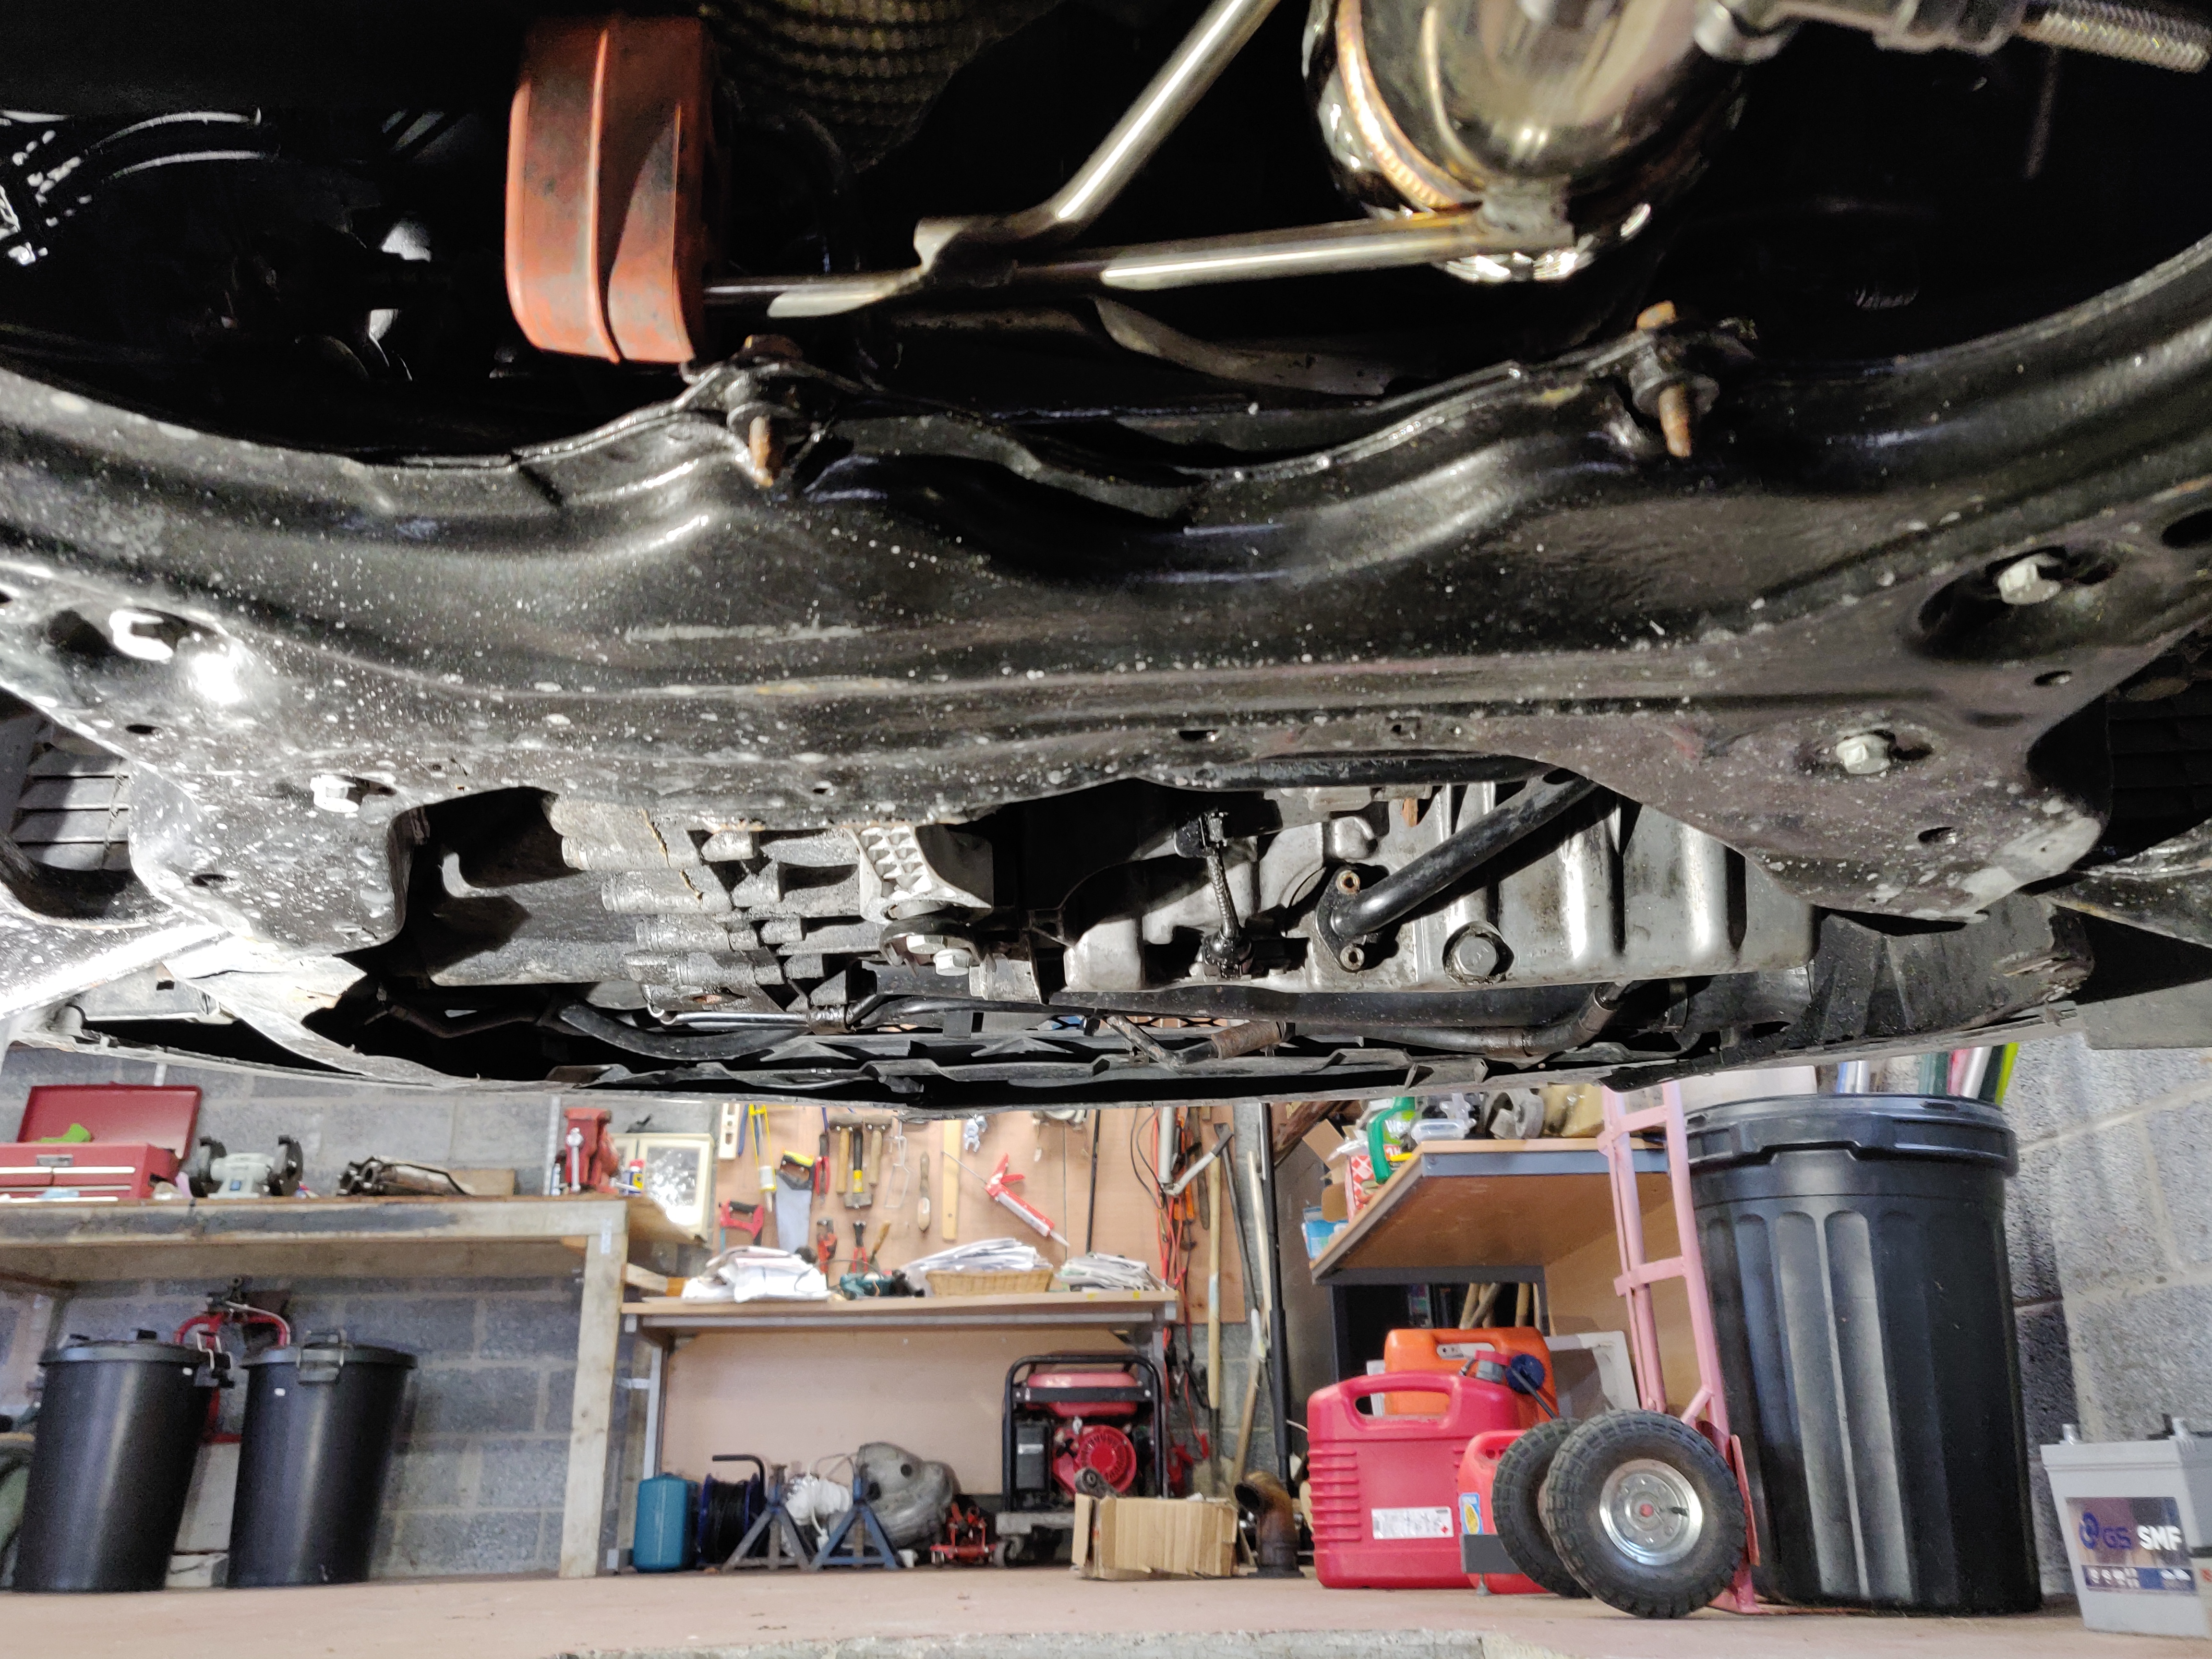
Fitted the new downpipe to the turbo first and connected the cat to it in situe after. To remove the old downpipe, I had to drop both the subframe and the steering rack as the steering rack is in the way of the downpipe on right hand drive cars.
To do this with the least amount of unbolting I disconnected the:
- steering column from the steering rack
- anti-rollbar from the droplinks
- tie-rod end balljoints
and then placed a trolley jack under the subframe. Note that I left the control arm balljoints in place. This was to help guide the subframe and hold it as it was lowered and raised. I removed the 4 subframe bolts and slowly lowered the subframe and steering rack together with the trolley jack. This gave plenty of clearance to remove the old downpipe and put in the new one.
I fitted the new downpipe with a new OE gasket from Audi (€10) and three locking M10 nuts and then simply raised the subframe back up again, taking note that the steering rack was aligning with the hole in the floor correctly and threaded in the subframe bolts again. Not a bad job at all with the pit.
Fitting the catalytic converter
The catalytic converter is heavy so I’d recommend using a jack to offer it up to the downpipe. First, I placed the output end into the exhaust clamp loosely and raised the cat. You may need to separate the two cats with a pry bar to get all of the studs through the downpipe holes. I also put two new gaskets on each of the mating surfaces for the cats (€5 from Audi).
I then fixed the cats in place with 6 M8 locking nuts and the job was complete.
2. Thermostat and Temperature sensor replacement
The car was not staying at temperature when driving because the thermostat was stuck open. This is an extremely common fault on Volkswagen group cars and is a very easy fix.
I think Mahle provided the OE thermostat and temperature sensor for the TT but I went with the bilstein ones because they were cheaper and are still high quality. The thermostat and o-ring was €9.26 and the temperature sensor was €10.21 so they really don’t break the bank.
Temperature Sensor
This is the easier of the two fixes. The sensor is easily accessible from the right side of the engine on top of one of the coolant lines. Simply pull the plastic tab out and connector from the top of the sensor, remove the sensor and o-ring and insert the new sensor and o-ring.
Thermostat
This is a bit trickier because of its location. If your car is due a coolant service, I recommend draining the coolant. However, I had just done a coolant flush so I didn’t want to lose all of my coolant.
I had to remove the dip-stick tube and plate holding it and removed the alternator cable to gain better access. I removed the coolant pipe and pointed it upwards to ensure the minimal loss of coolant. I then removed the two bolts holding the plastic coolant pipe to the block. These are extremely difficult to get access to and I used a whacky combination of extensions and swivels that I have collected over my time working on this car to remove them.
I then removed the thermostat and o-ring from the block while holding the replacement and putting it into position as quickly as possible to ensure that the least amount of coolant loss. I tightened everything back up to spec, topped it up with coolant and brought the car up to temperature. Problem solved.
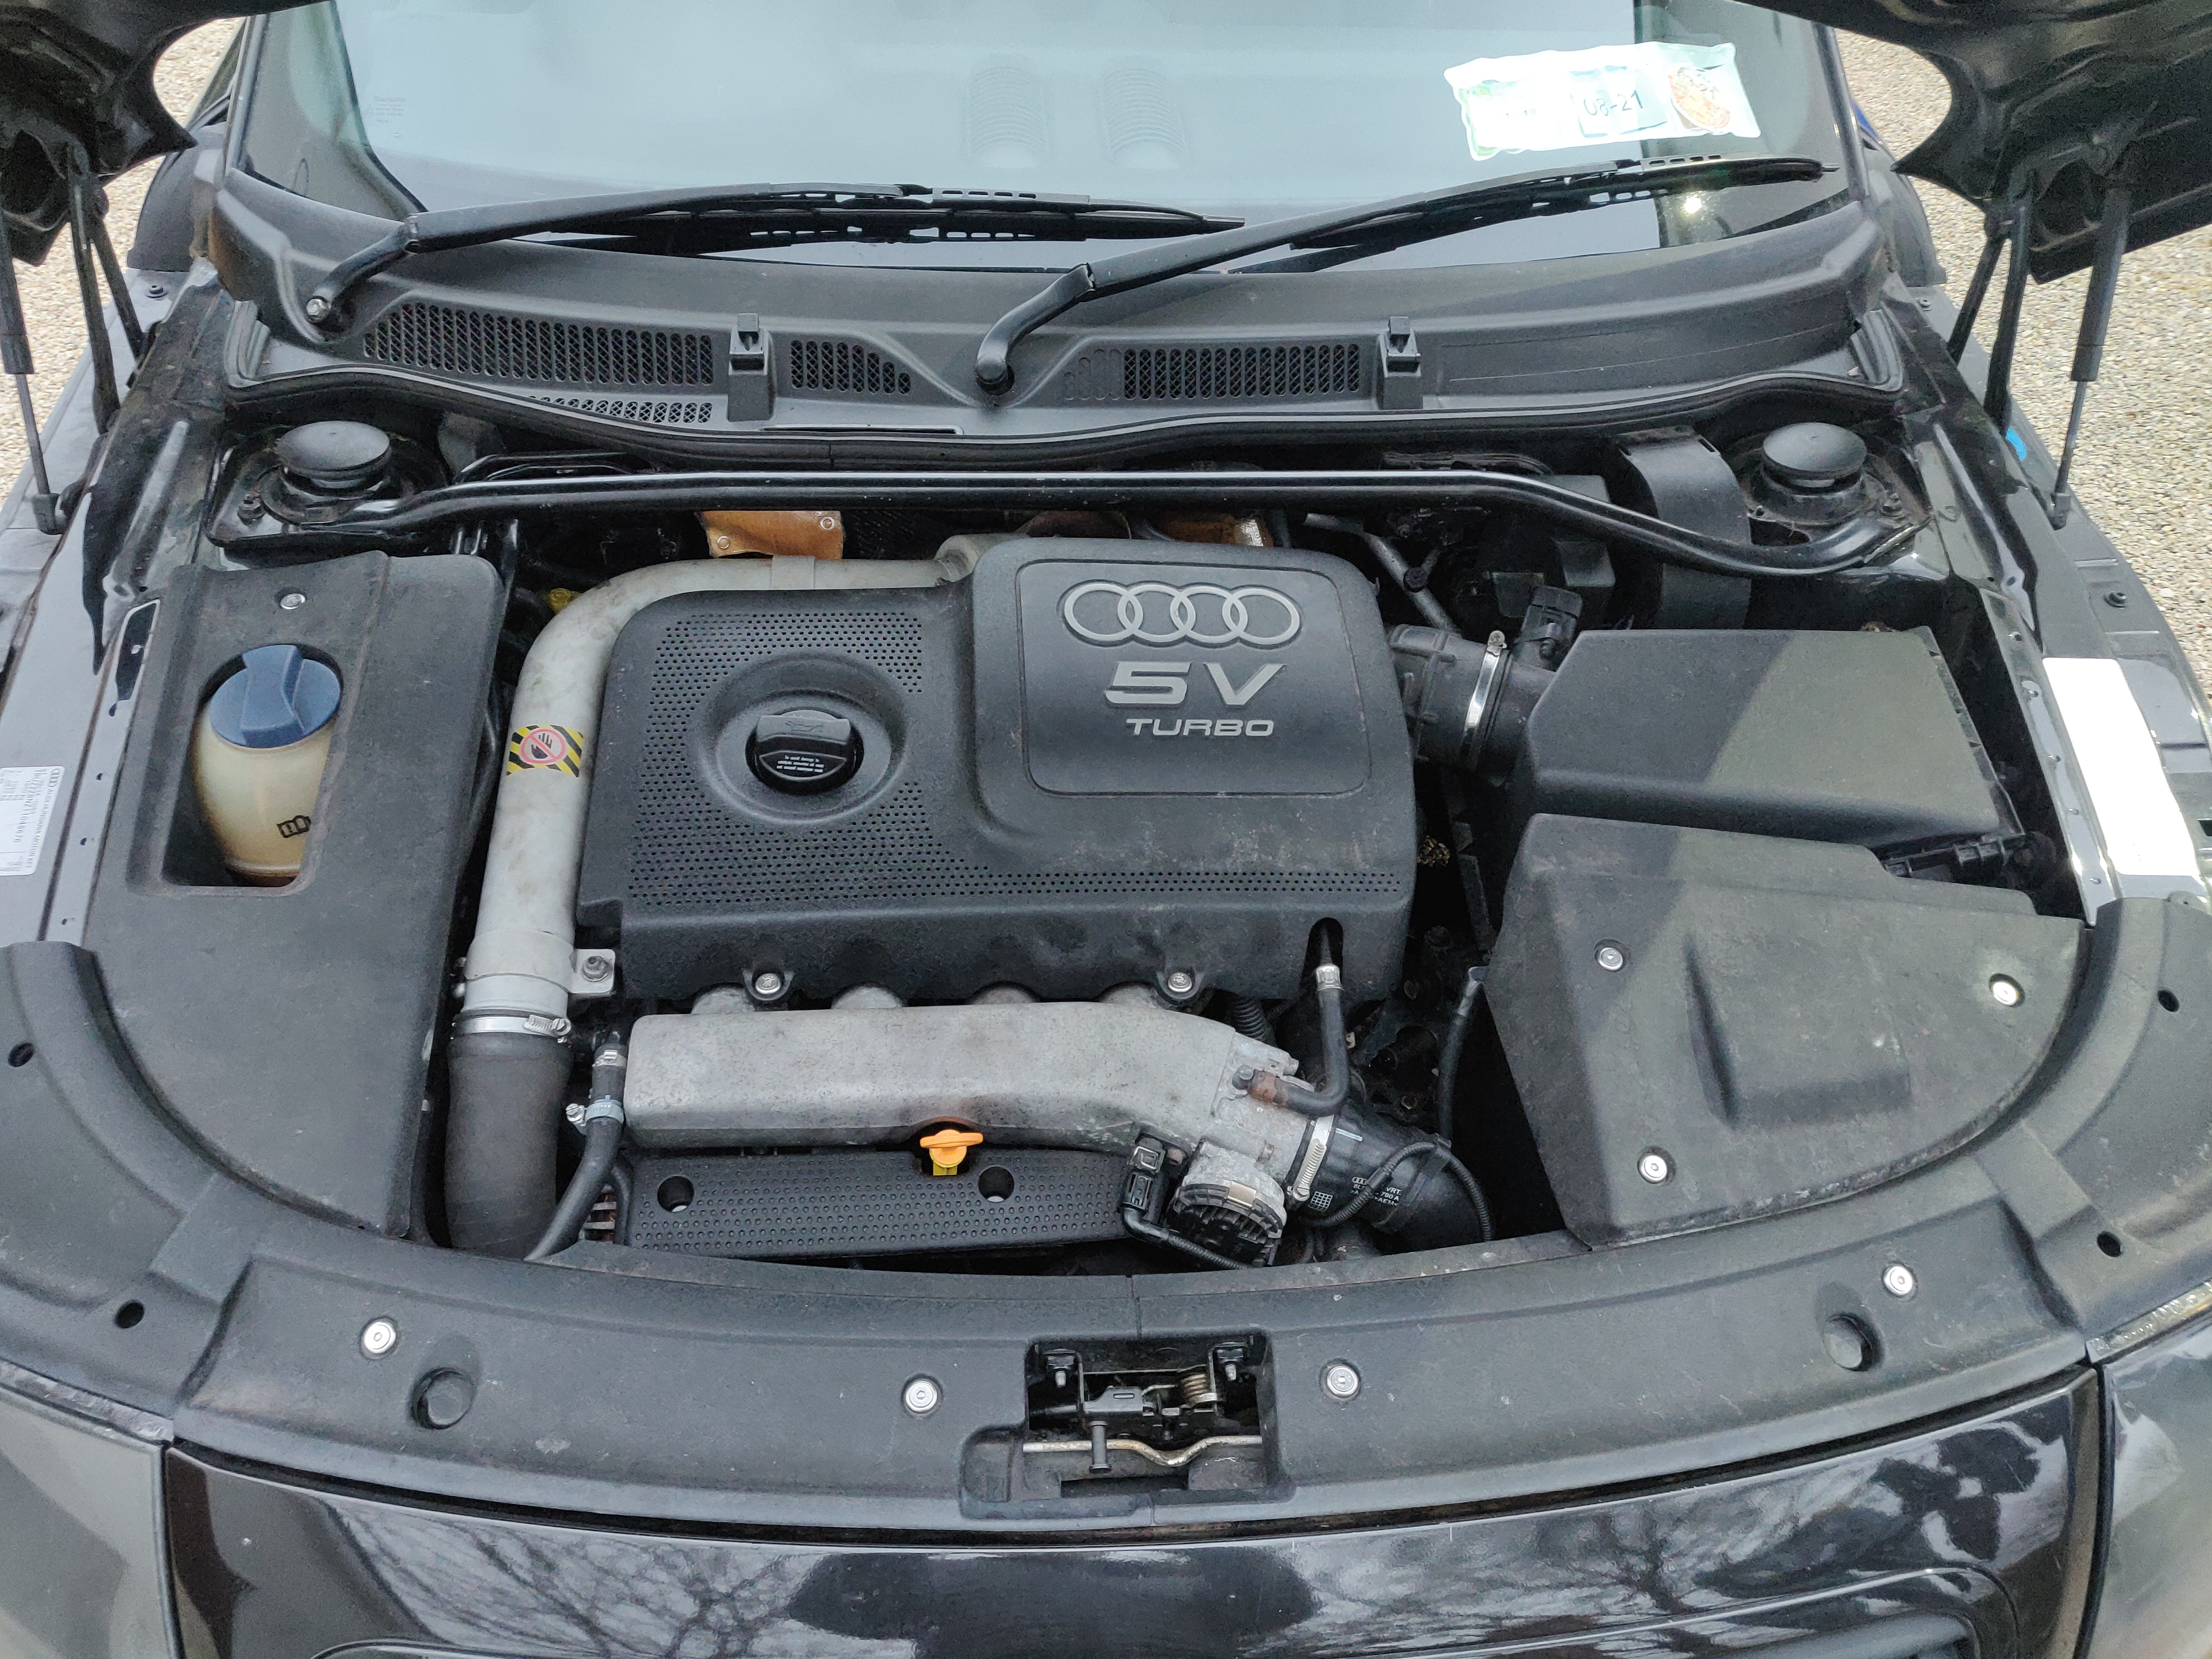
3. Engine Dress-up
I bought an engine dress-up bolt kit over a year ago now and I’m only getting to enjoy them now. I also forgot that I still actually had all of the engine plastics for the car. The engine bay looks much nicer with all of the vacuum line mess covered over.