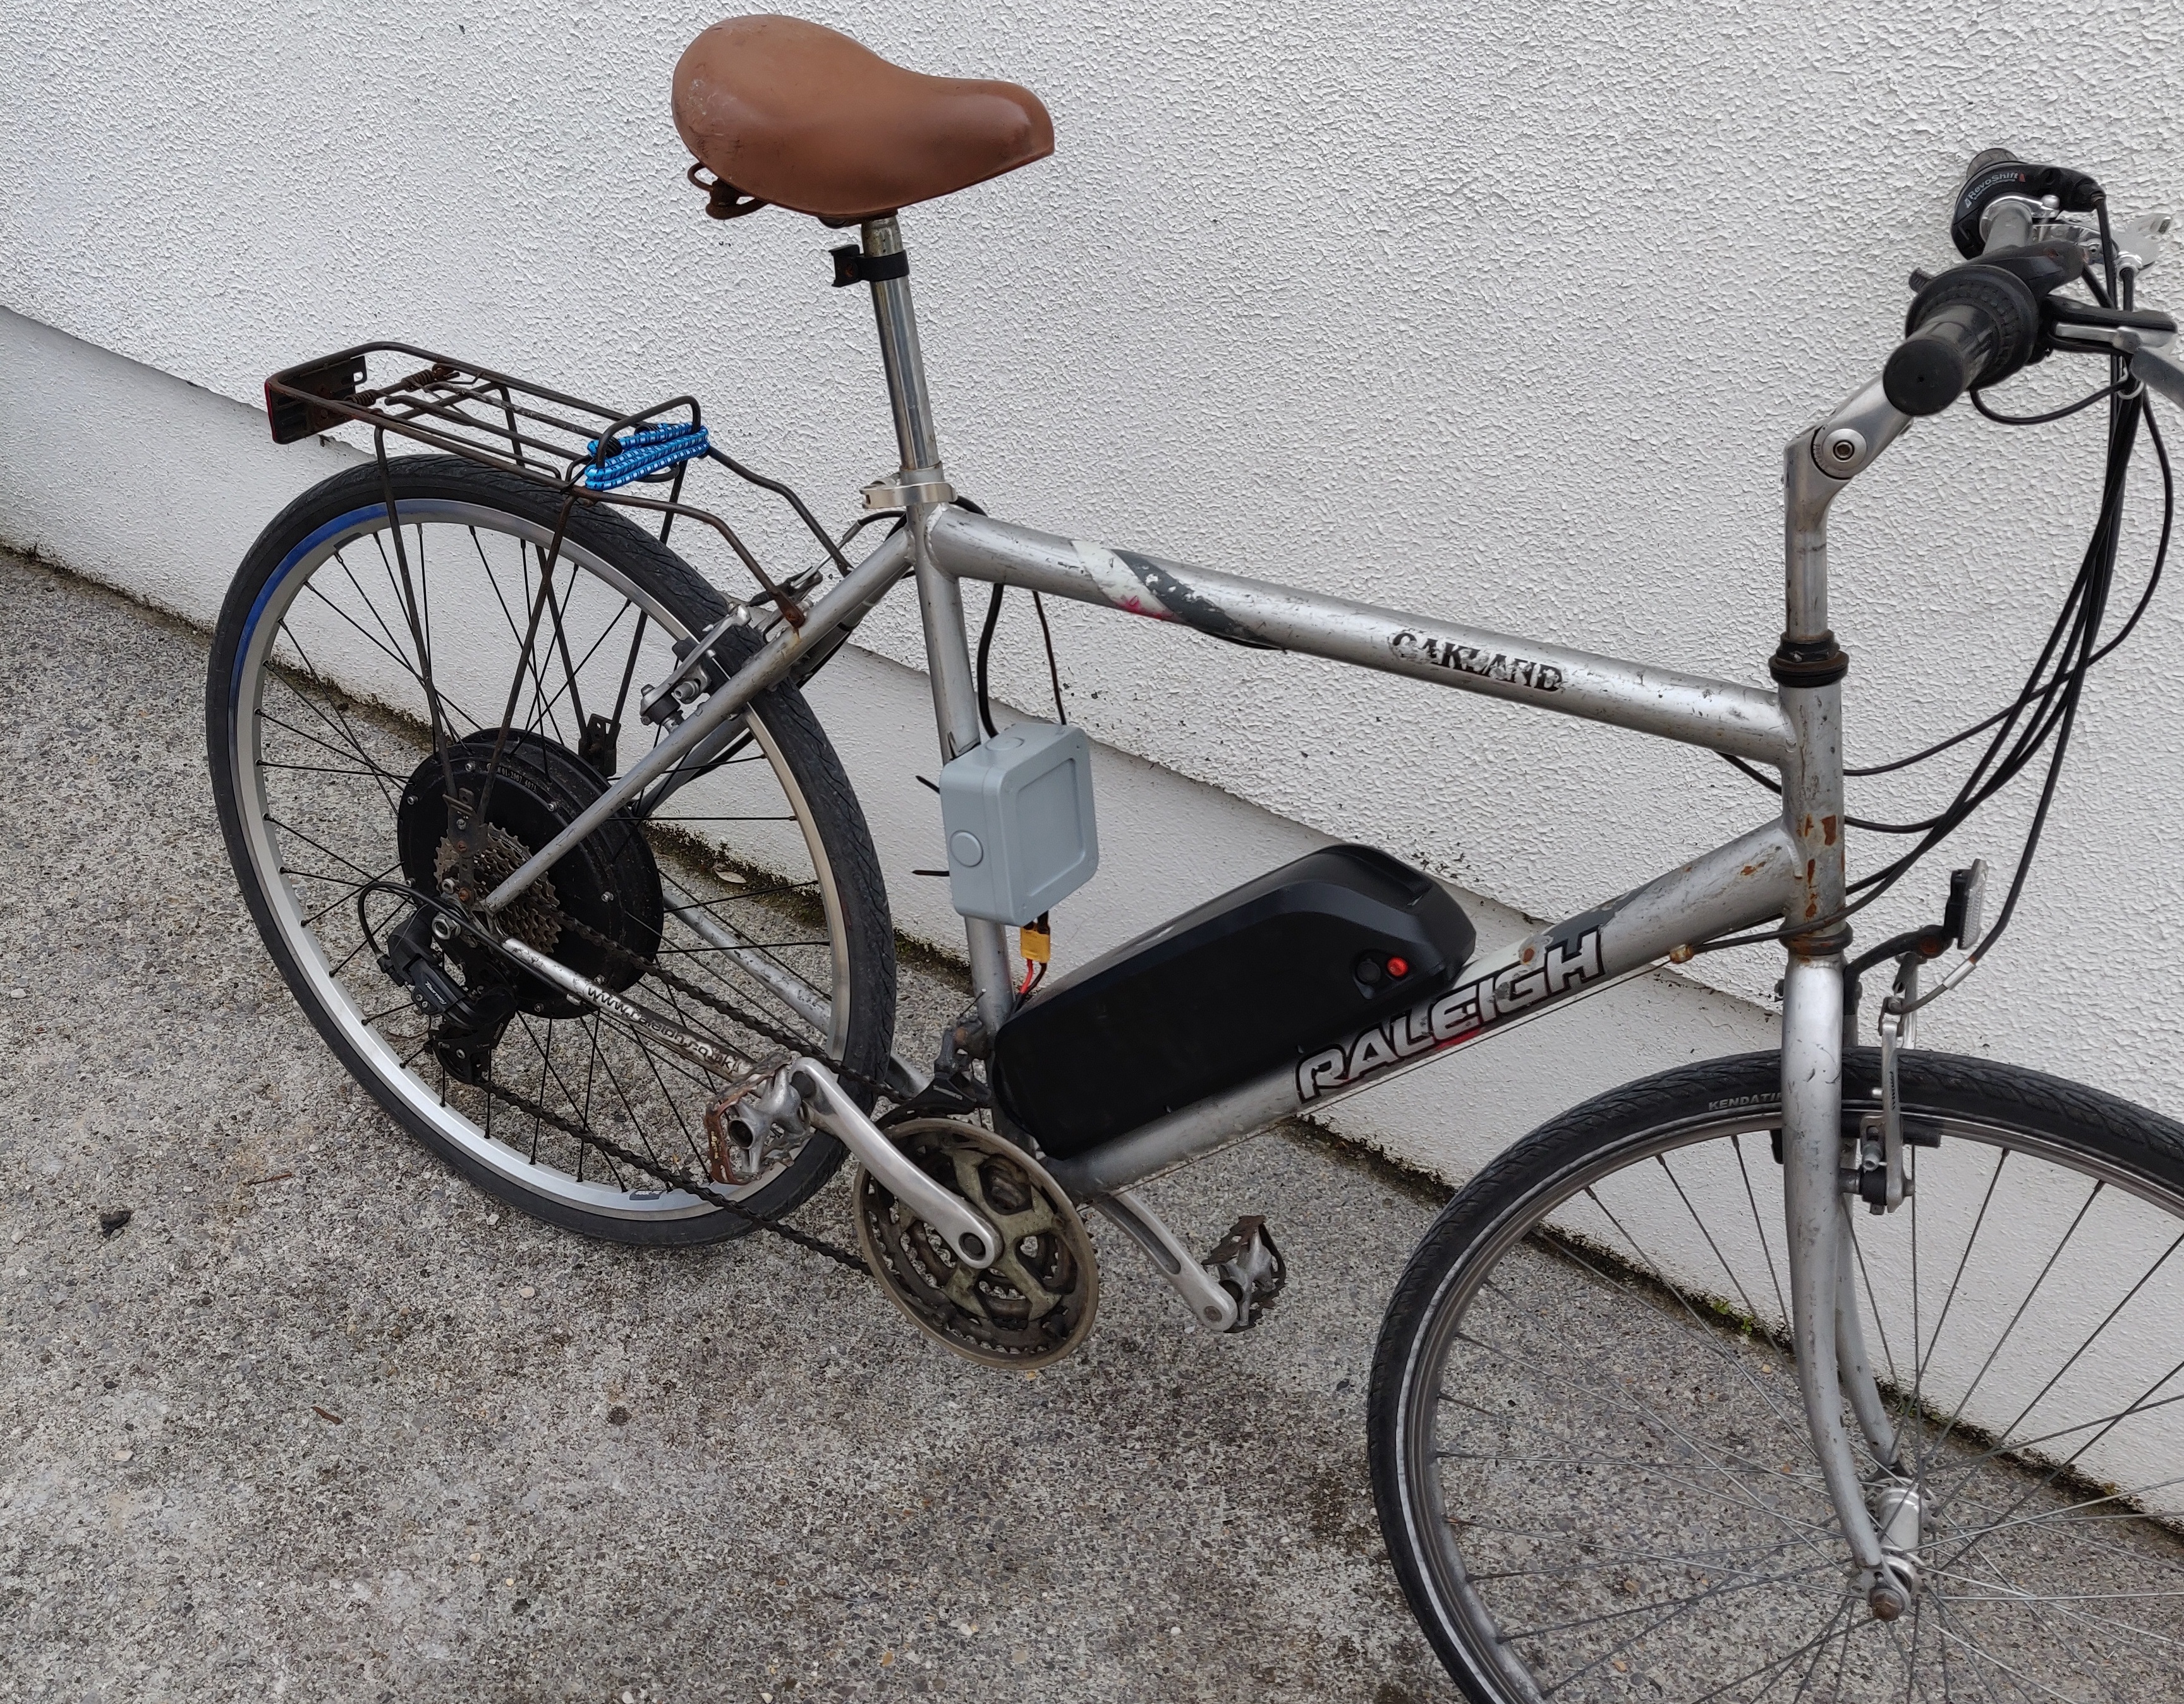
Recipe: A Daily Driven eBike

Turn an unloved old bike from your garage into a swift city commuter.
Ingredients
| Component | Description | Price |
|---|---|---|
| 1500W Hub Motor | Gearless (direct drive) hub motor | €190 |
| Ryde Zac 200 Rim | 36 spoke for compatibility with the hub motor | €20 |
| Salt BMX Spokes | 190mm required for the rim size used | €15 |
| Enertion Focbox VESC Motor Controller | 48V at about 35A minimum required to power the motor at full power | €140 |
| Hailong Battery pack | 48V and 20Ah | €170 |
| eBike Throttle | €10 |
Note: The price and availability of components varies wildly. Apologies if the prices given are no longer accurate or links provided no longer work.
Parameters
Motor Power
If you don’t need a really powerful eBike capable of 55-60km/h, you can choose one of the smaller motor options. Note that smaller motors are geared, which is better for range and torque but worse for reliability as the plastic gears wear over time.
Choosing a smaller size motor can reduce not only motor cost, but also battery and motor controller cost too. This is because the motor controller provides less continuous power to the motor, as does the battery and range is typically improved significantly.
You can calculate the current required to be provided by the battery and controller using: $I = \frac{P}{V}$
| Motor Power | Motor Voltage | Continuous Current | Burst Current |
|---|---|---|---|
| 250W | 36V | 3.5A | 7A |
| 250W | 48V | 2.75A | 5.5A |
| 500W | 36V | 7A | 14A |
| 500W | 48V | 5.25A | 10.5A |
| 1000W | 48V | 10.5A | 21A |
| 1500W | 48V | 16A | 32A |
Motor Compatibility with your Bicycle
You should first consider whether you wish to use a front or rear hub motor. Generally, rear mounted hub motors are better for traction as most of your body weight is supported by the rear wheel of the bike. Front motors are much easier to install however as there is no gearset configuration to deal with when setting the bike up. In general, if you want a lower powered motor, front mounting is the easiest way to go. Anything over 500W though should be rear mounted as wheel spin will become an issue.
If you decide to get a rear hub motor, you will have to choose between a freewheel and cassette. Most older and cheaper bikes have a freewheel while cassettes are very common on modern bikes. You should check which your bike has before purchasing if you wish to use the same gearset. You should nearly always be able to move the gearset from your old wheel to the hub motor but you will most likely require a specialised freewheel or cassette removal tool to do so.
The Over-Lock-nut dimension (O.L.D) is a very important measurement to check motor compatibility with your bicycle. It is a measurement of how wide your seat stays where the hub is mounted. If the stays are only a small bit narrower, you should be able to widen them slightly without damaging the bicycle. Likewise, if the stays are slightly too wide, you can narrow them safely.
Rim size
This will depend on the frame size and previous rim sizes used on your bicycle. The most common rim size is 700C. To use the rim with the hub motor I have linked, you will need 36 spokes.
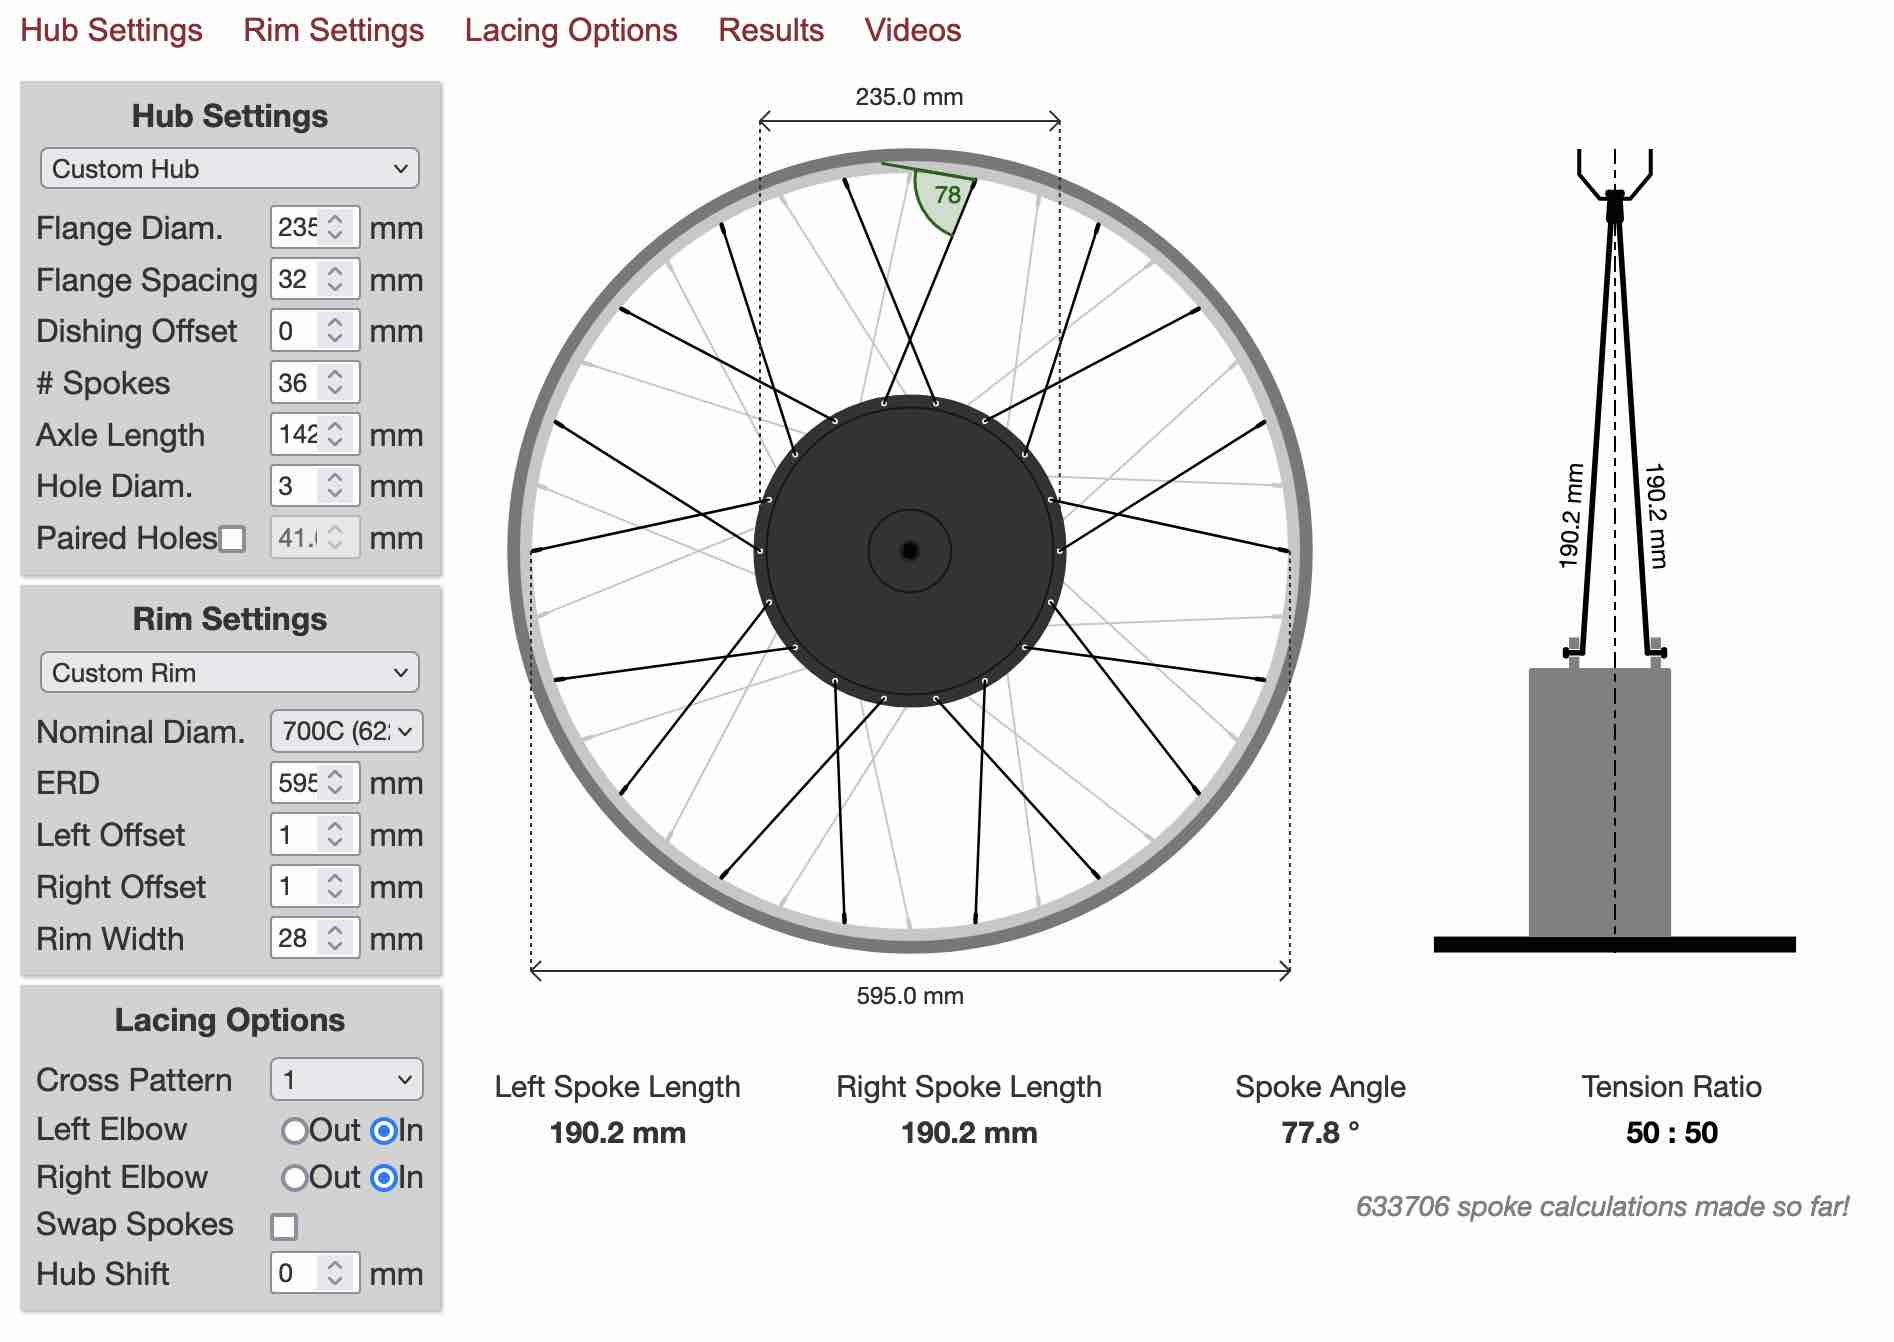
Spoke length
You can calculate the spoke length using a spoke calculator. You will need the diameter and O.L.D of the hub motor, the size of rim and its the effective rim diameter (ERD) to calculate the spoke length. If using a 700C rim with the 1500W hub motor, you will need 190mm spokes. I highly recommend buying pre-cut spokes of the correct length rather than cutting longer spokes to length to make truing the bicycle later easier.
Method
Step 1
Build the wheel. You can check out Kevin’s wheel building post here if you wish to do so yourself (full disclosure, I don’t endorse some of Kevin’s methods :) or you could take it to your local bike shop to have it built. A bike shop wheel build is going to be true wihin a very fine tolerance which will improve the smoothness of the ride as well as provide better braking if you’re using rim pads.
If you’re in the Dublin area and want a wheel built, I recommend 360 Cycles. They provide a thoroughly professional service at a fair price.
Step 2
If using a rear hub motor, remove the freewheel or cassette from your old bicycle and fit it to the new hub.
Step 3
Mount the wheel to the frame to check the fitment. If necessary, you can widen the stays or forks slightly by gently hammering a block wood between the stays until the desired gap has been achieved.
Step 4
With the wheel mounted on the bicycle, loosely connect the three phases of the motor and the three hall effect sensor wires to the motor controller. Connect the battery to the controller and the throttle also.
Step 5
If using a VESC motor controller, you will have to configure the correct parameters for controlling the hub motor. To do this, you will need to get the VESC tool which is available for free and connect your computer via USB to the controller. You will then need to:
- Configure the hall effect sensors
- Measure the Resistance and Inductance of the motor
- Measure the lambda (concentration of magnetic field inside the motor)
- Calculate the current control coefficients
Kevin has a guide for configuring FOC on a VESC controller. He used the precursor to the VESC tool, called BLDC tool, but most of the configuration is mostly unchanged now.
Step 6
Build a box to house the controller and permanently mount all of the components to the bike.
Step 7
Take it for a shpin.